DIY Fall Floral Arrangements To Hang on The Wall
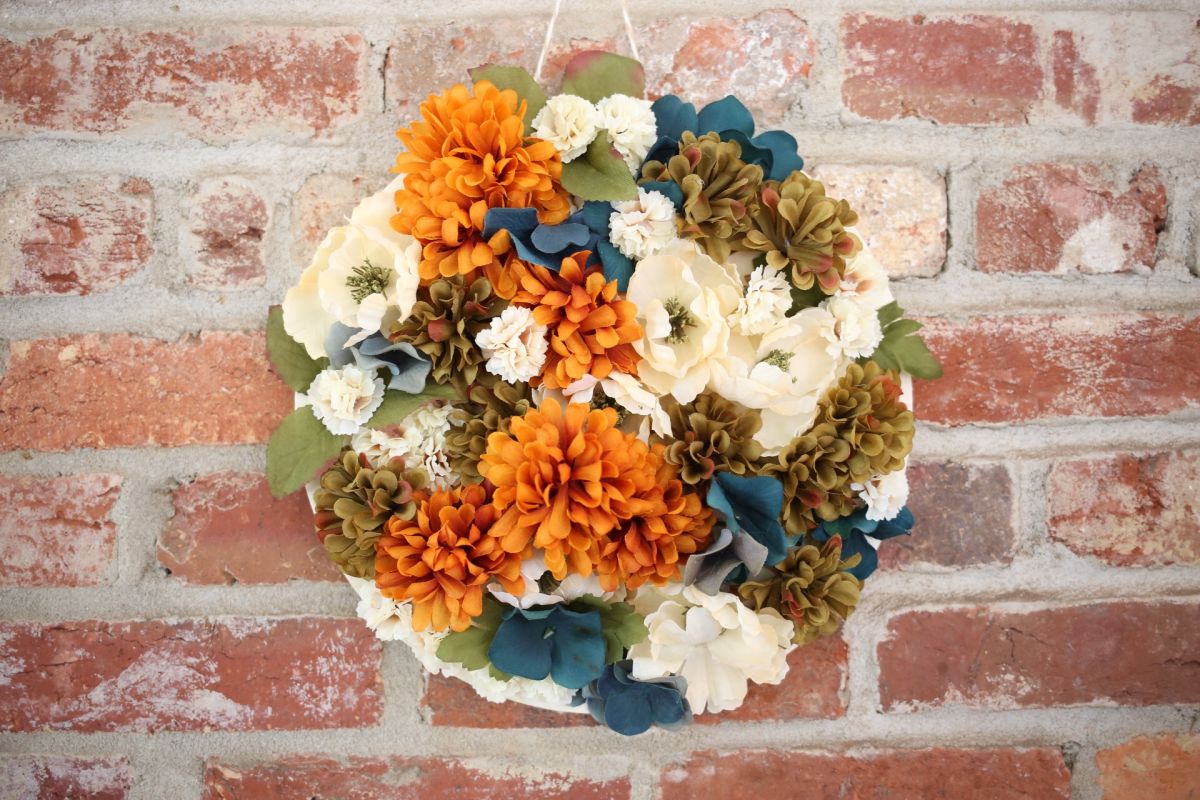
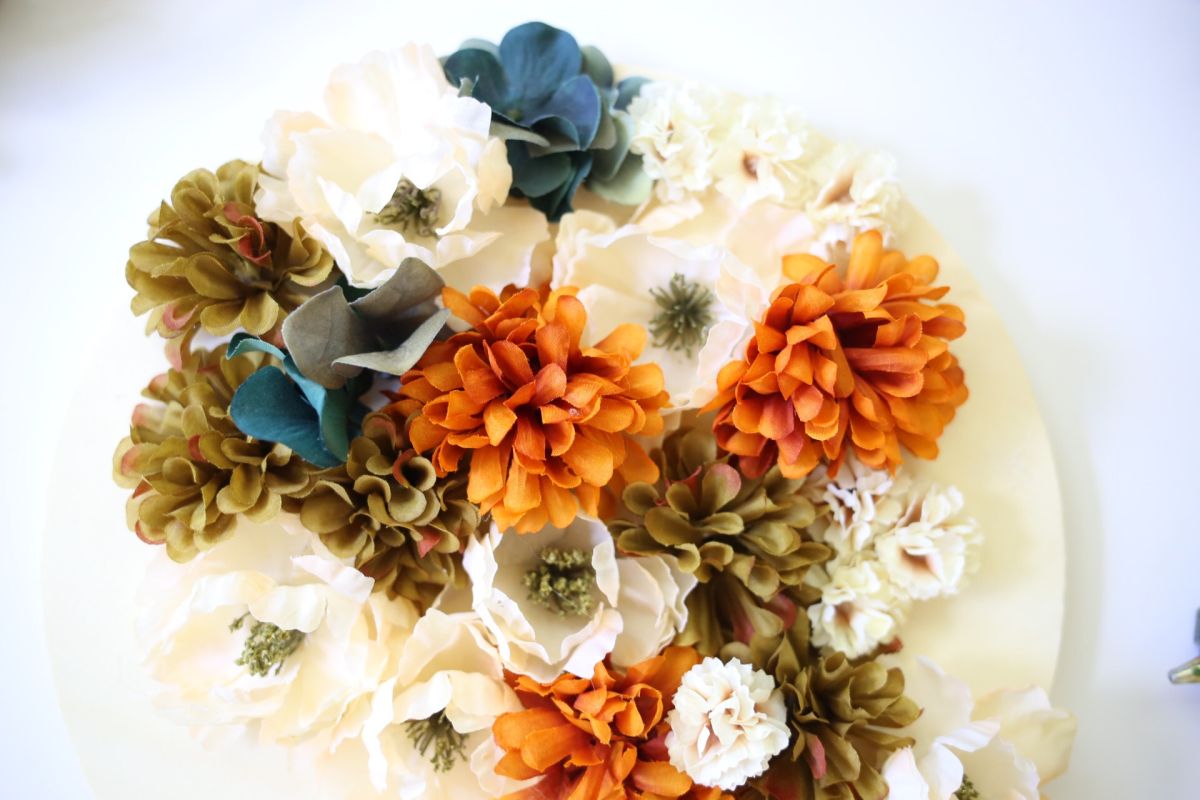
I think it’s safe to say that fall is in the air–that means filling up the house with rich warm fall colors! If you walk into any craft store and you will be greeted with a bunch of beautiful fall floral arrangements, and most of them have good sale prices. Here’s a unique and fun way to get crafty with those autumn flowers from your local craft store. It’s a simple project that will only take you less than half an hour, plus it’s a charming seasonal piece to decorate your home.
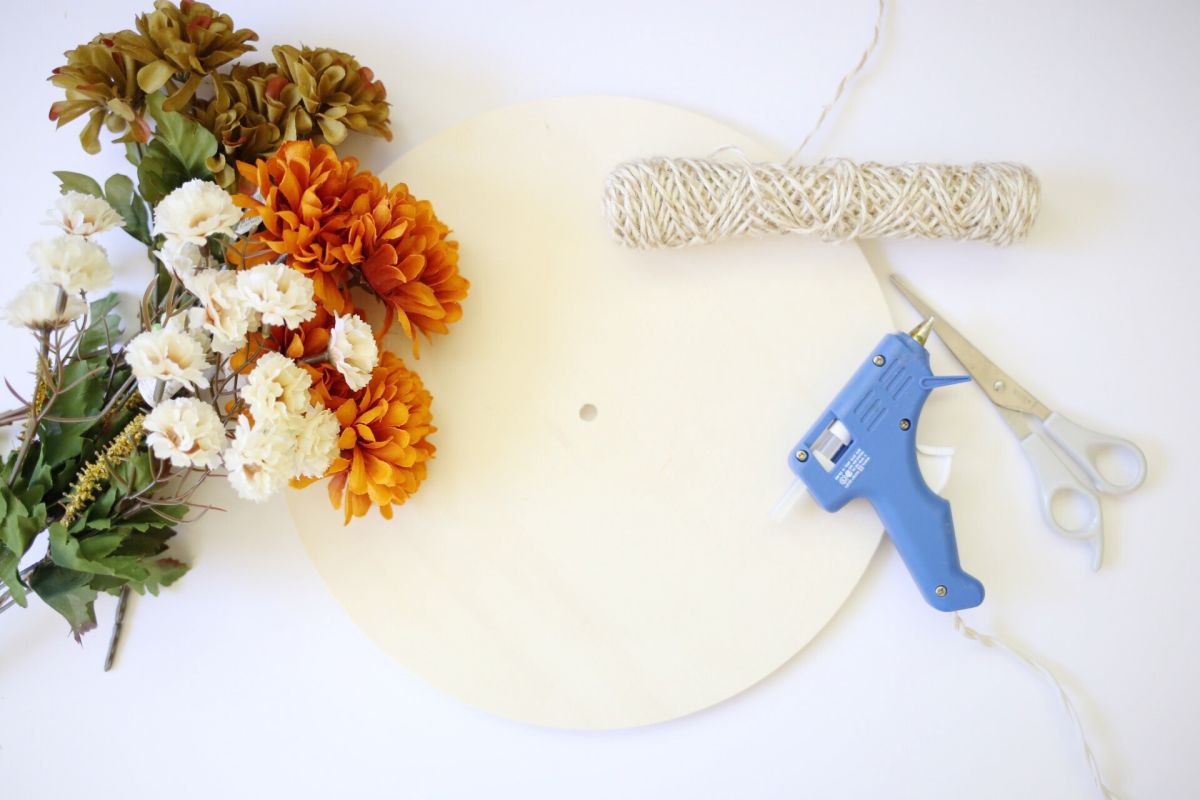
Materials to create a fall floral arrangements:
- Wooden clock cut out
- Scissors
- Hot glue gun
- String or twine
- Seasonal silk flowers (different sizes and colors)
1st step: cutting flowers
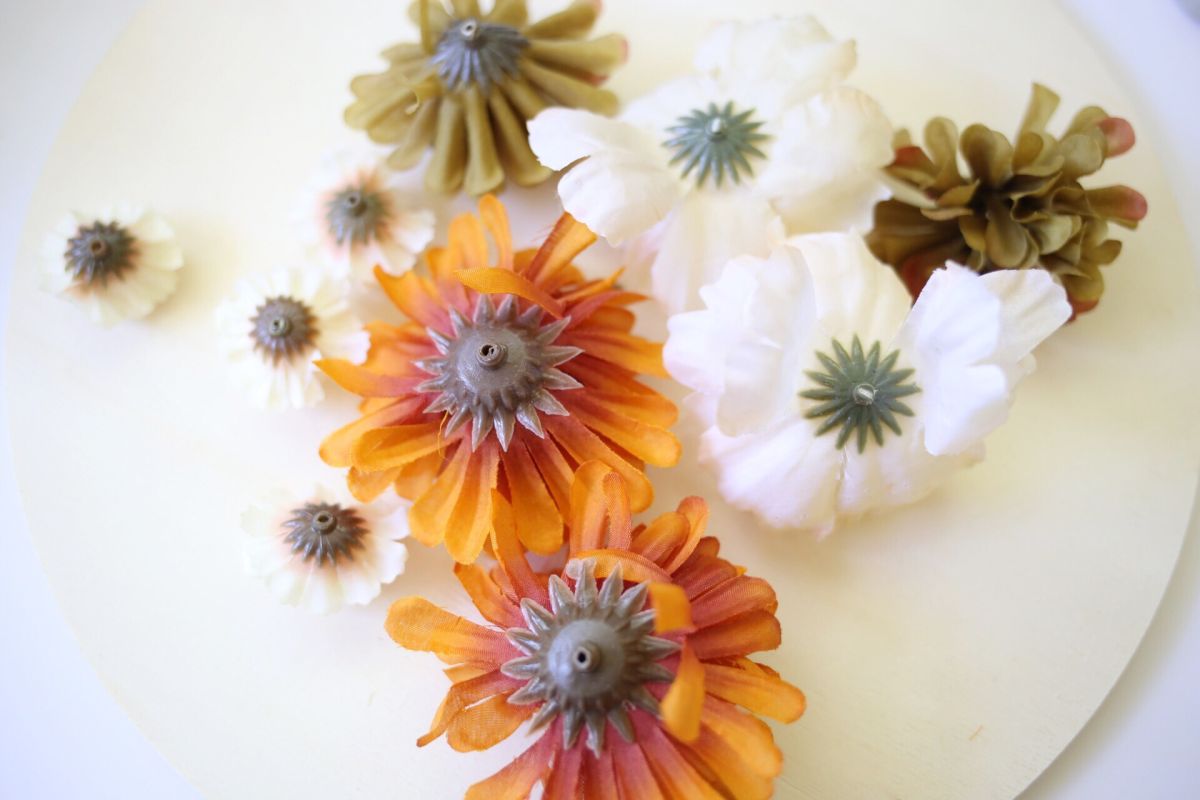
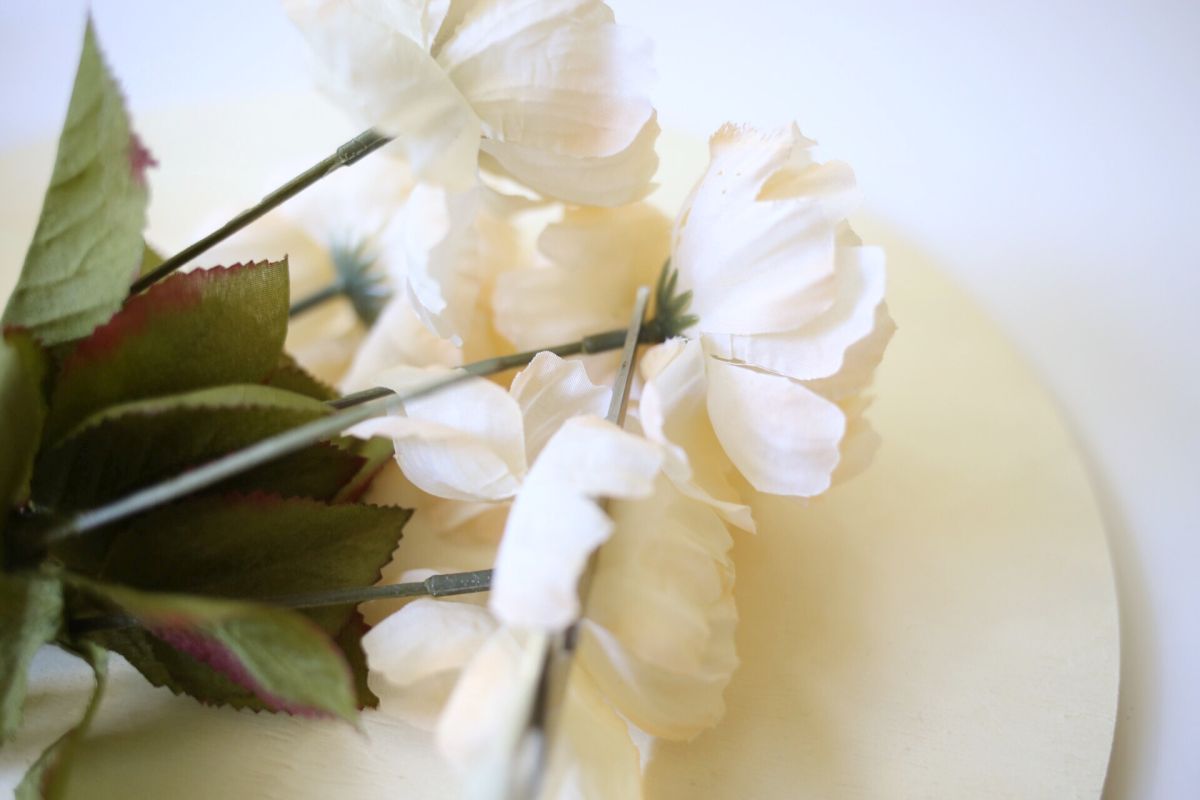
Take your scissors and snip the flowers off the stem. Try to cut as close as you can to end of the stem.
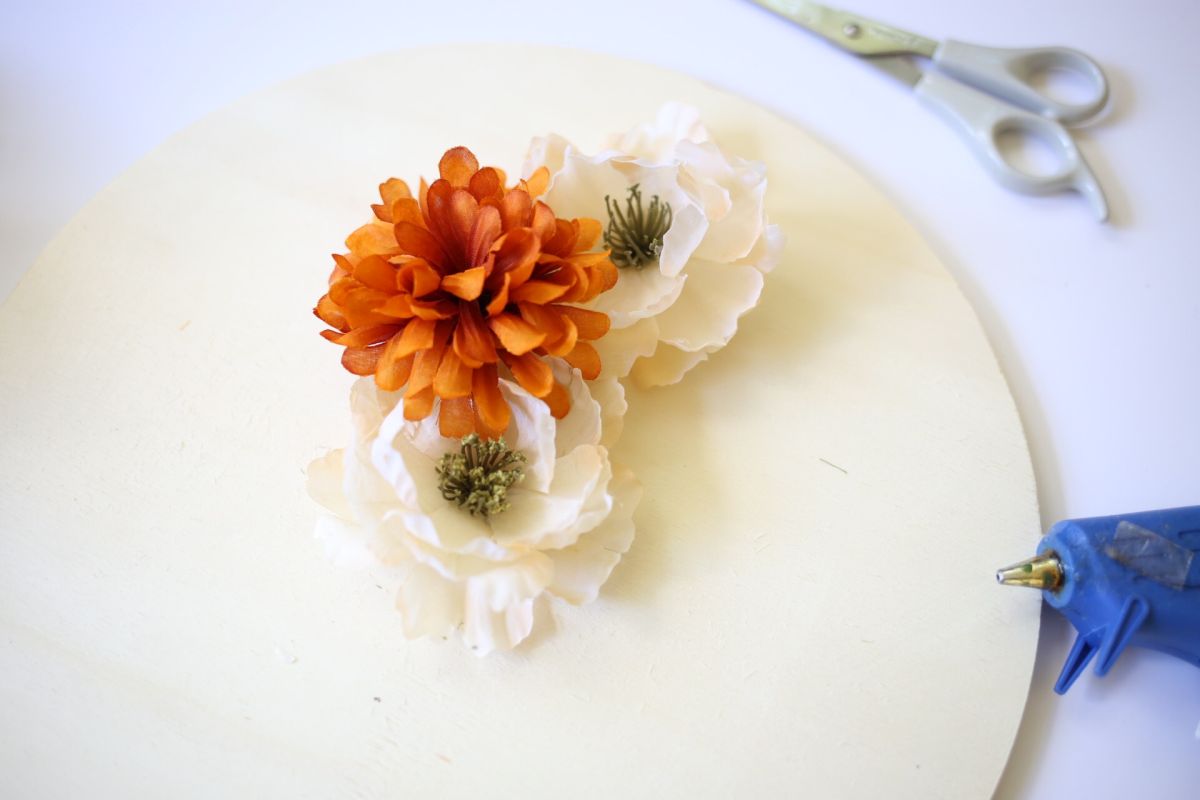
2nd step: arrange as you like
Once you have cut off all the flowers, arrange the big flowers how to want them to lay on the board.
3rd step: apply a good amount of glue
Once you have decided on the placement of the flowers, take your glue gun and apply a good amount of glue on the bottom of the flower. Stick it on the board right away and hold it in place for a couple seconds.
4th step: fill the empty spaces
When your all done gluing the bigger flowers, take the smaller flowers and fill in the empty spaces and side.
5th step: be creative
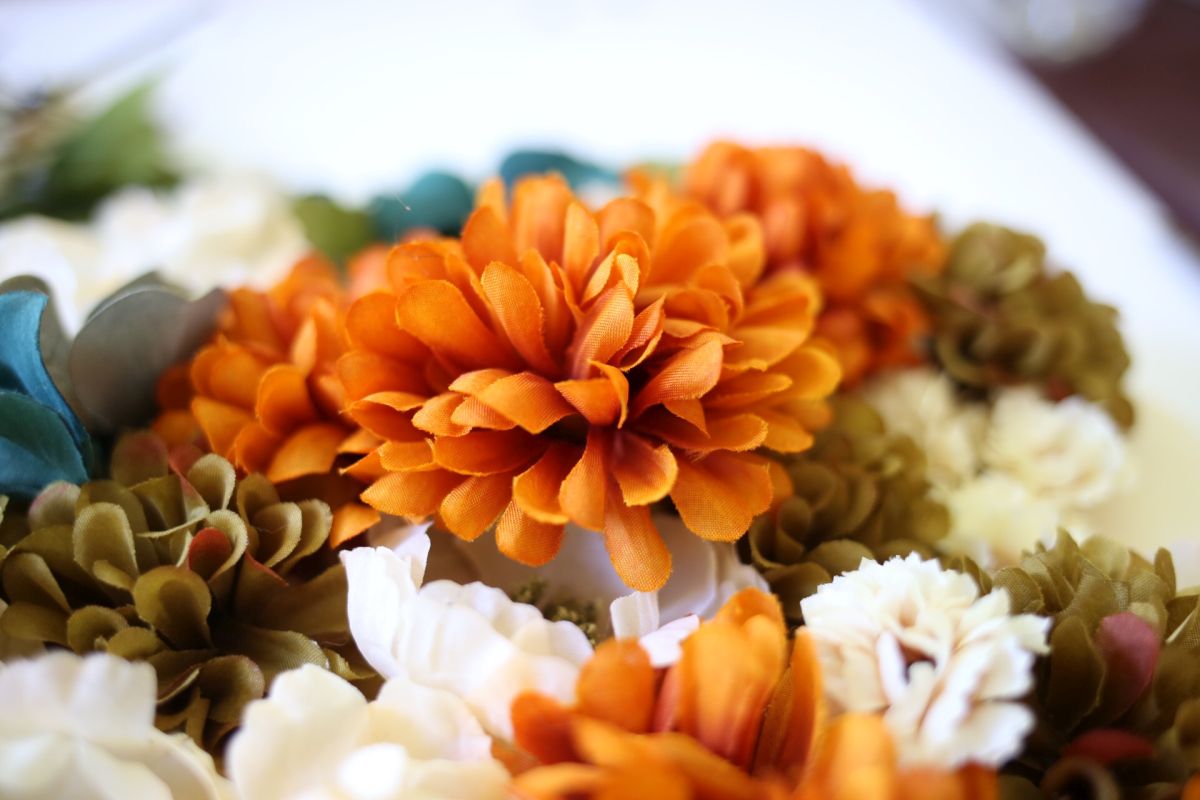
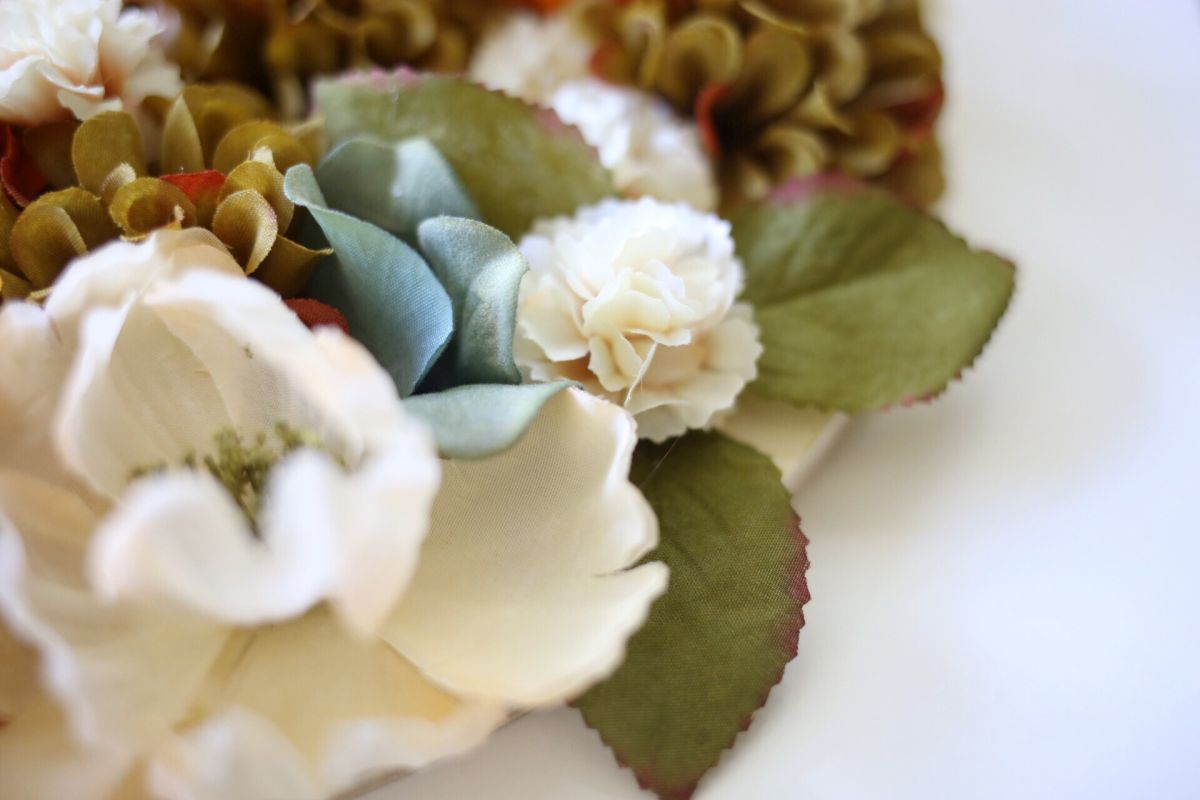
To make your floral piece more aesthetically appealing, add a couple of silk leafs from the stem and glue a smaller flower on top. Also, you can glue a couple of flowers on top of another flower to give it more fullness.
6th step: add a string
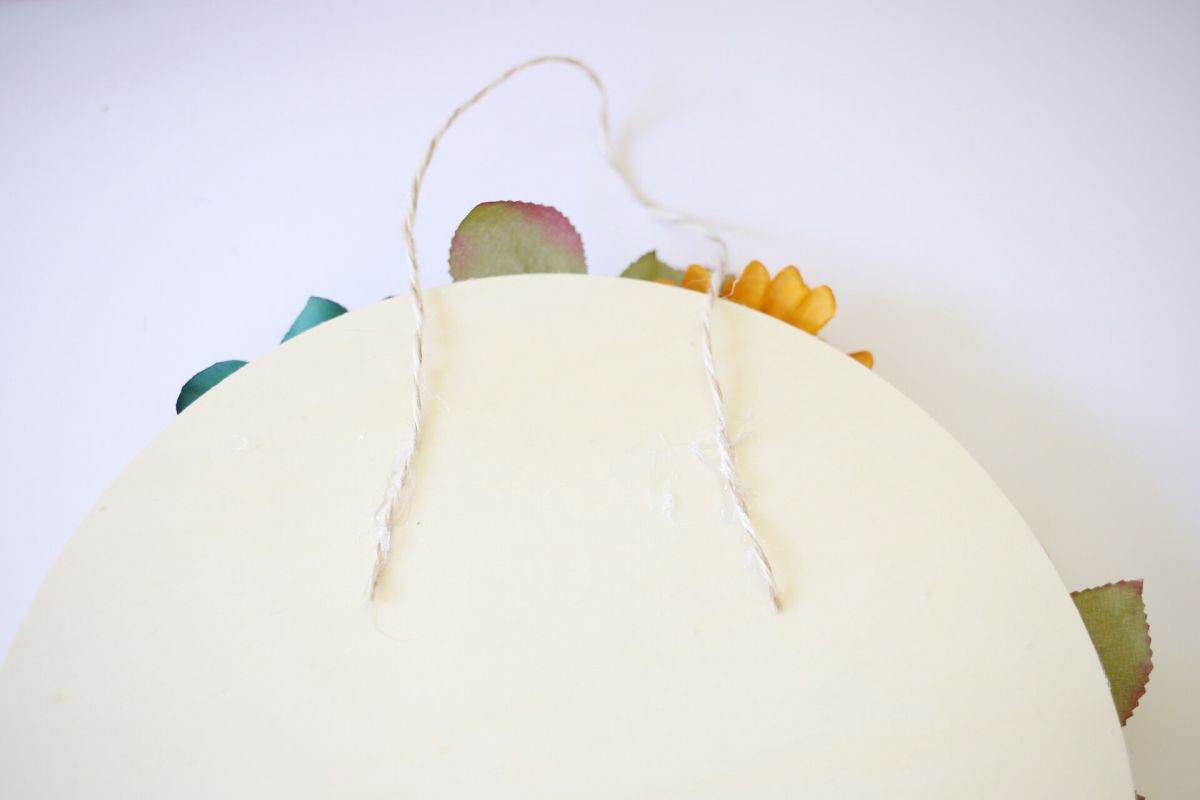
Finished gluing all the flowers? If you are, turn your piece around and cut about 9inches of string and glue it onto the board.
Conclusion
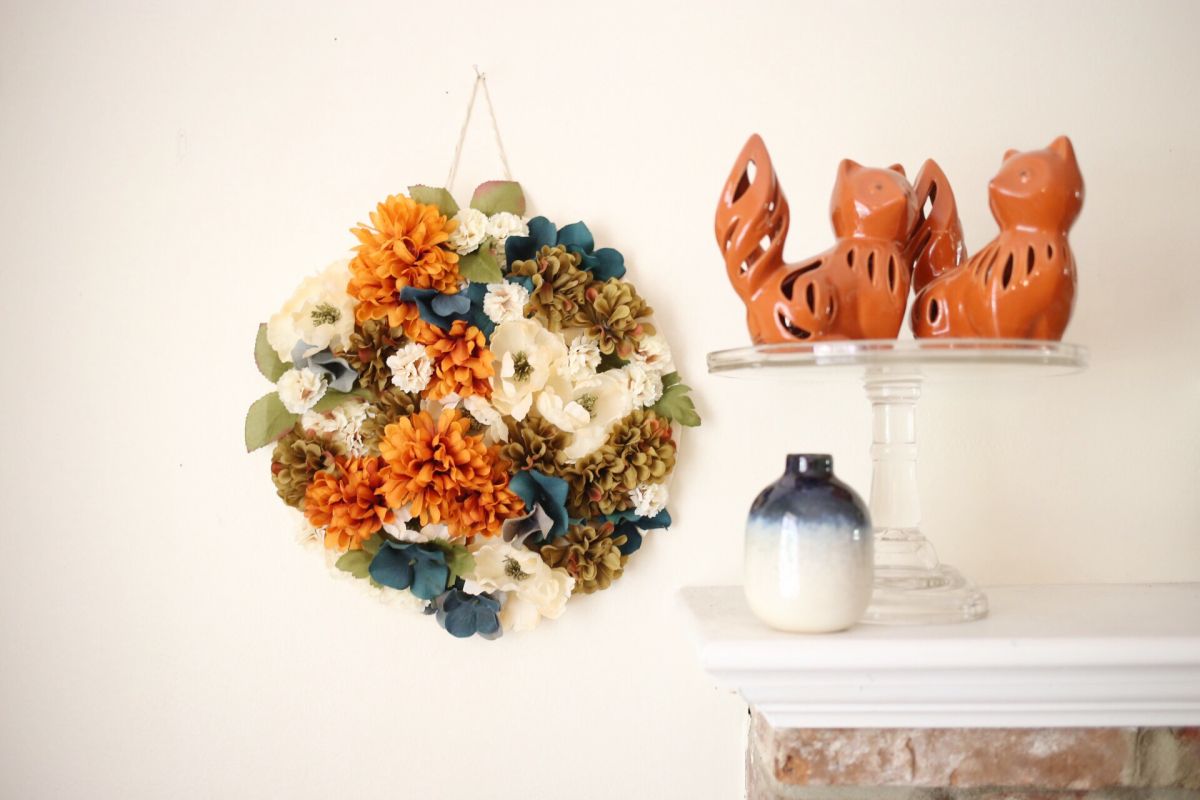
This fall floral arrangement is perfect for your indoor walls. It’s also a great piece to hang on the front door to welcome your guest.
Hope you enjoyed this tutorial. Happy crafting!
