30 DIY Storage Ideas For Your Art and Crafts Supplies
Tidy up your craft room with some easy DIY ideas that will keep all of your supplies easy-to-grab and clutter-free. From your ribbons to your paper, everything can have a spot that’s both stylish and functional. And we’ve compiled some of the best projects for you to do just that. Let’s have a peek at 30 DIY storage ideas for both you art and crafting supplies.
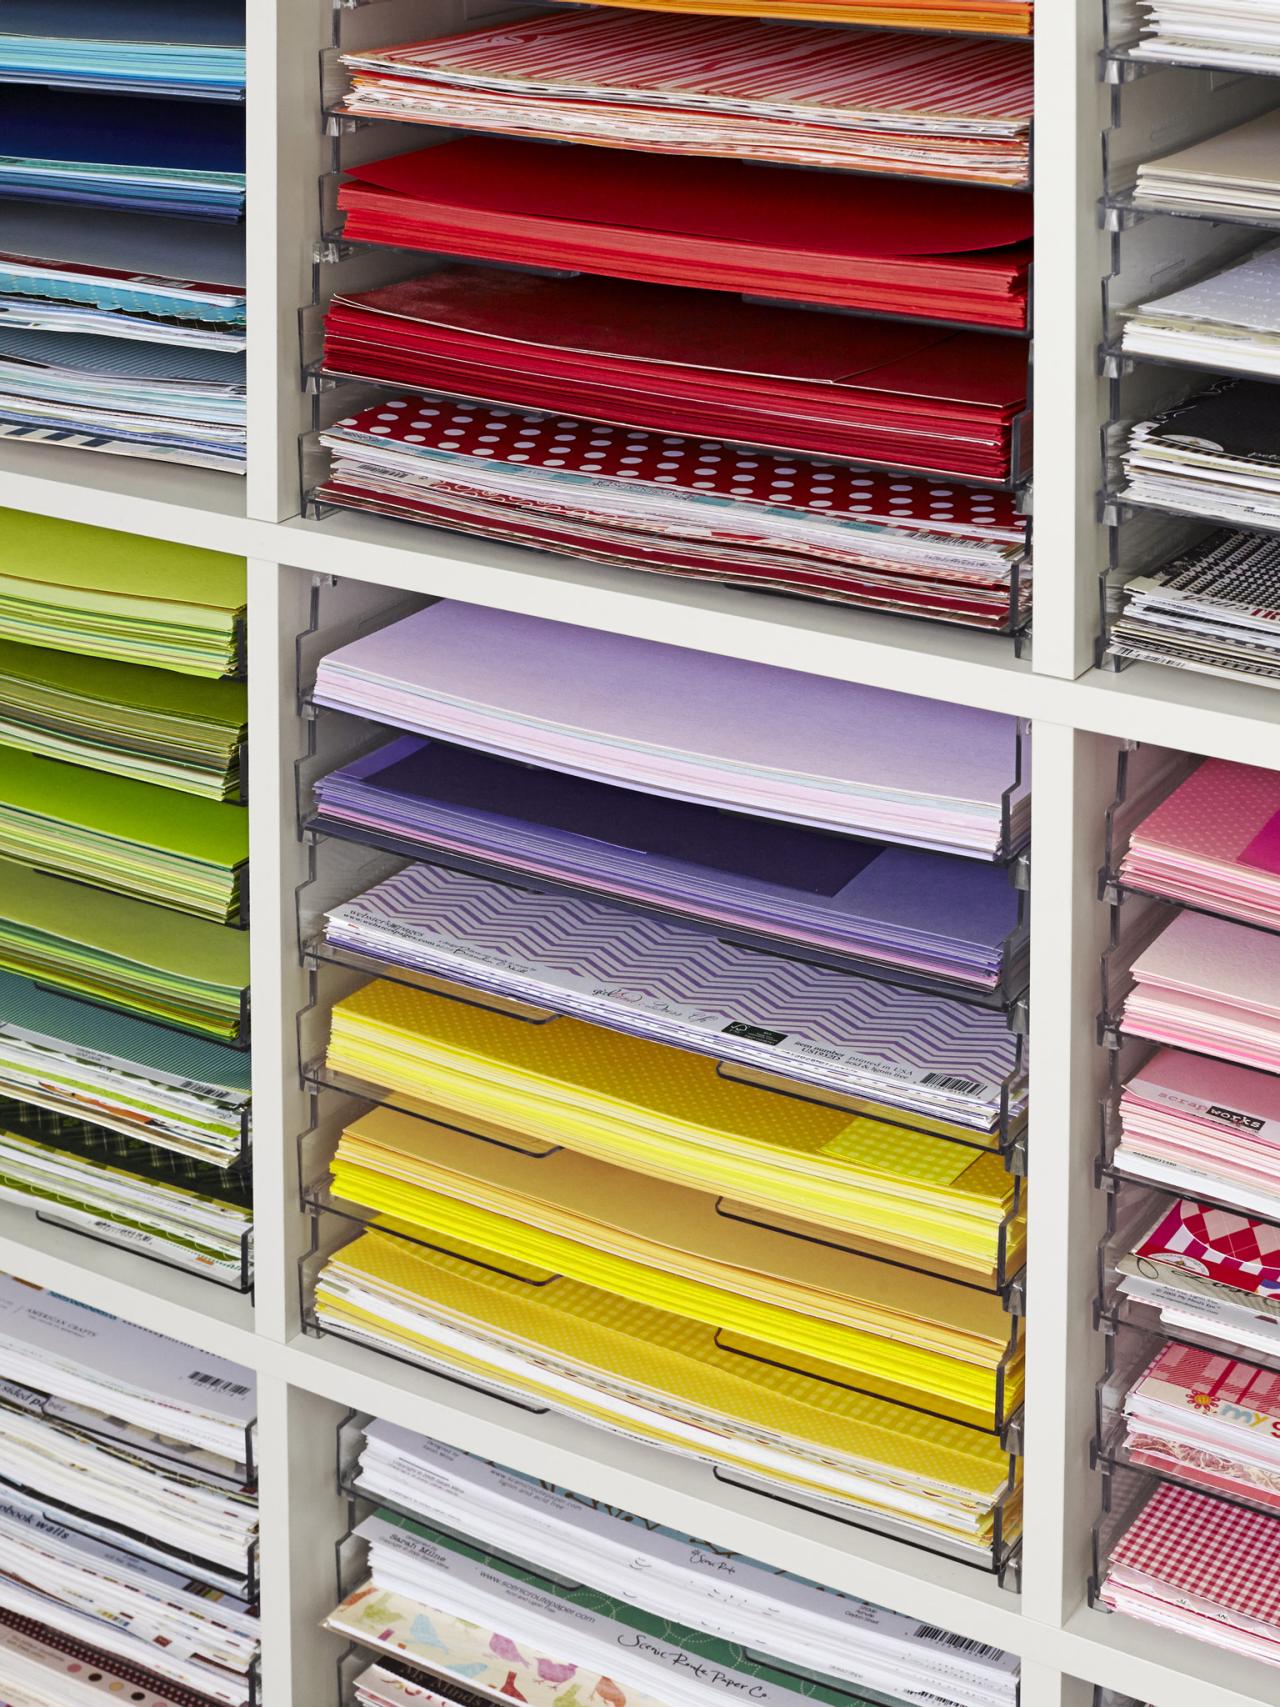
1. Paper Storage Shelving
DIY Network shows us how to take store displays right into the craft room. Using plastic trays you can organize and keep your papers wrinkle free and ready when you need them!
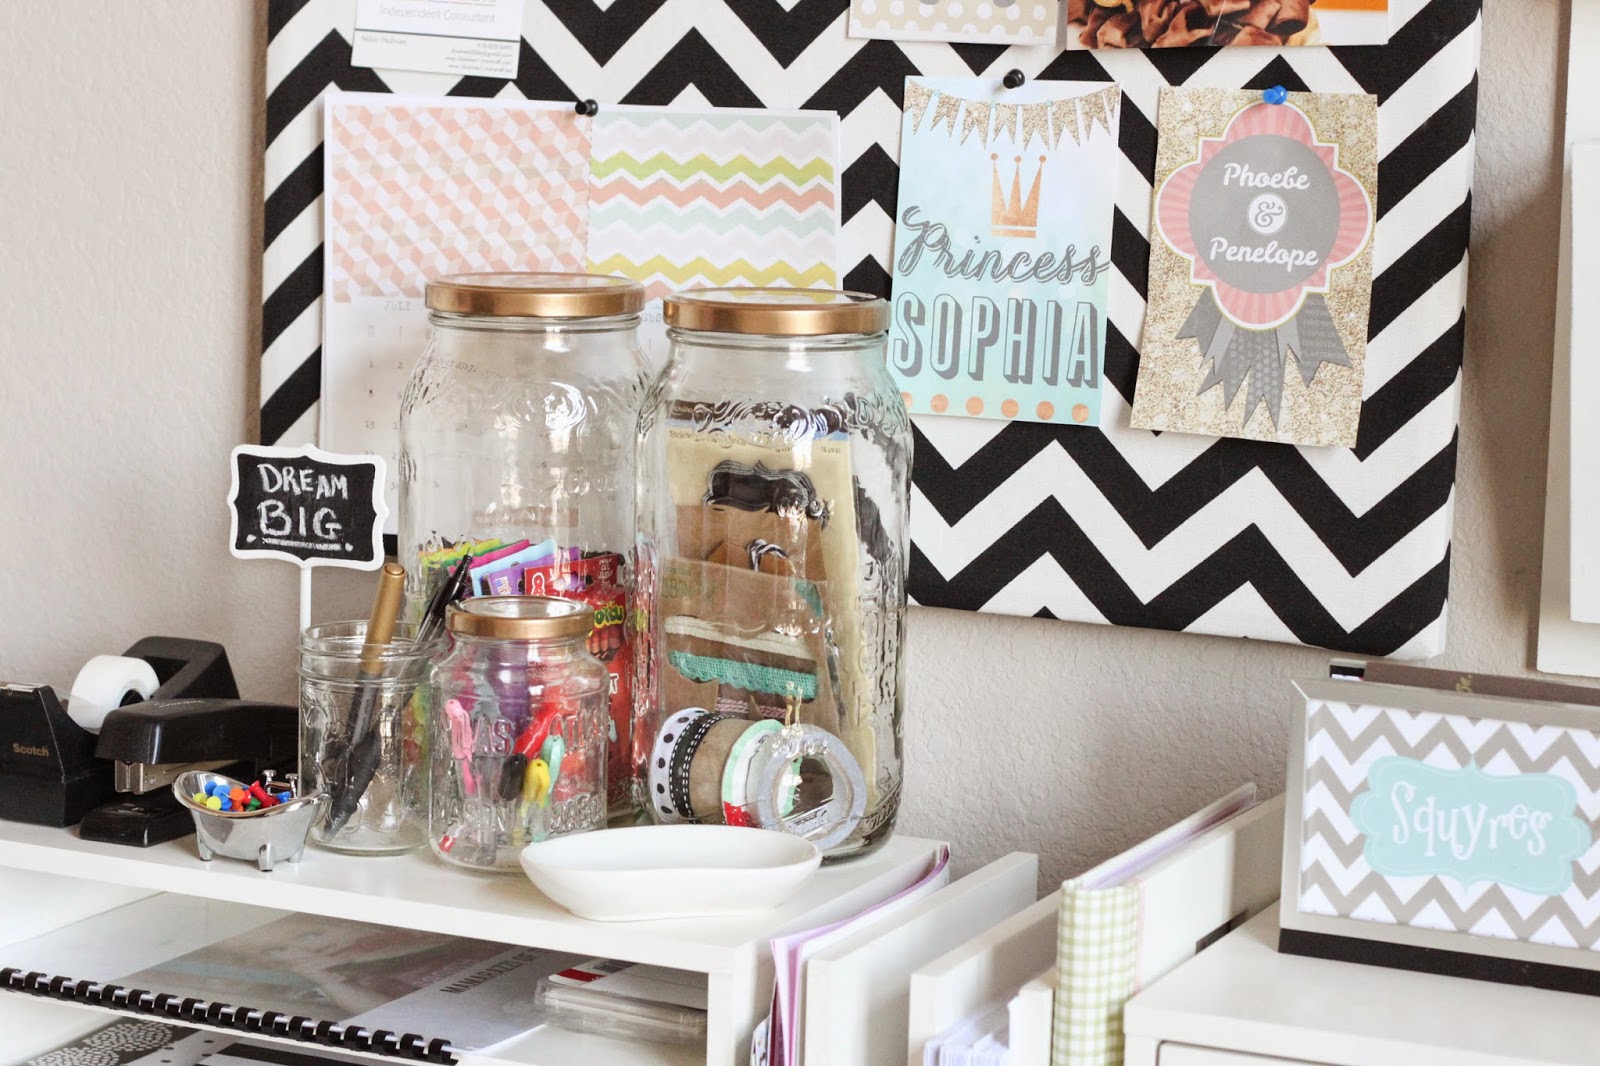
2. Crafting Jars
Jazz up those mason jars with a bit of spray paint to match your chic crafting space or home office. Nelli & Phoeb’s shows us how to create this simple DIY so you have a place for your smaller, most-used items.
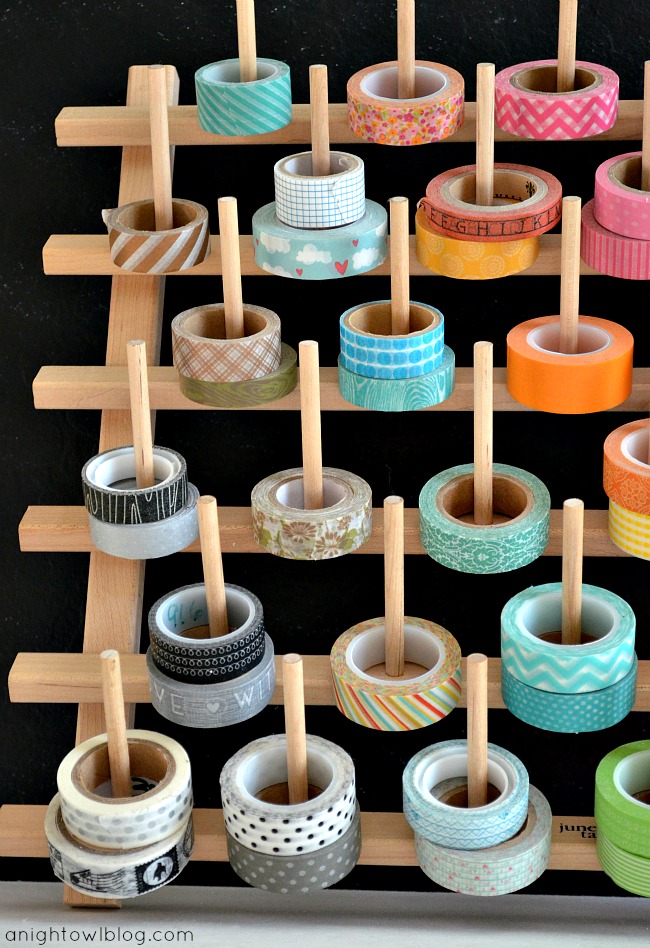
3. Washi Tape Thread Rack
Over at a A Night Owl, you’ll be able to see how an older thread rack was turned into a washi organizer. It’s quick, it’s easy and you can even paint it if you’d like!
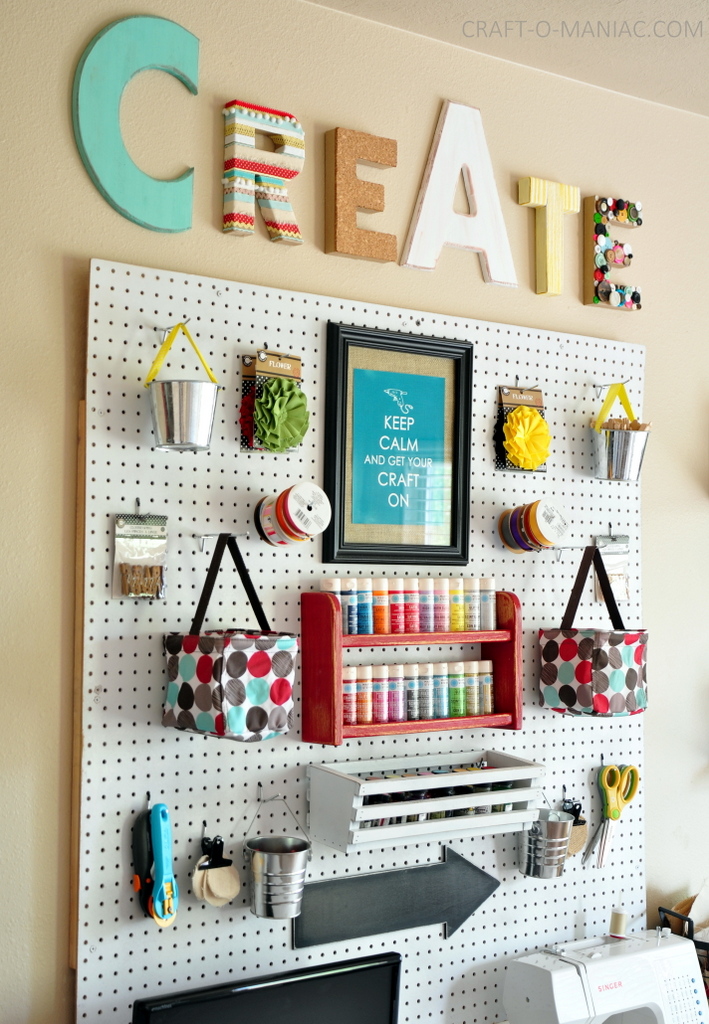
5. Pegboard Crafting Organization
Craft-O-Maniac used a popular garage idea and turned it on inside the craft room. From paint to all of your funky scissors, there’s a place for it all.
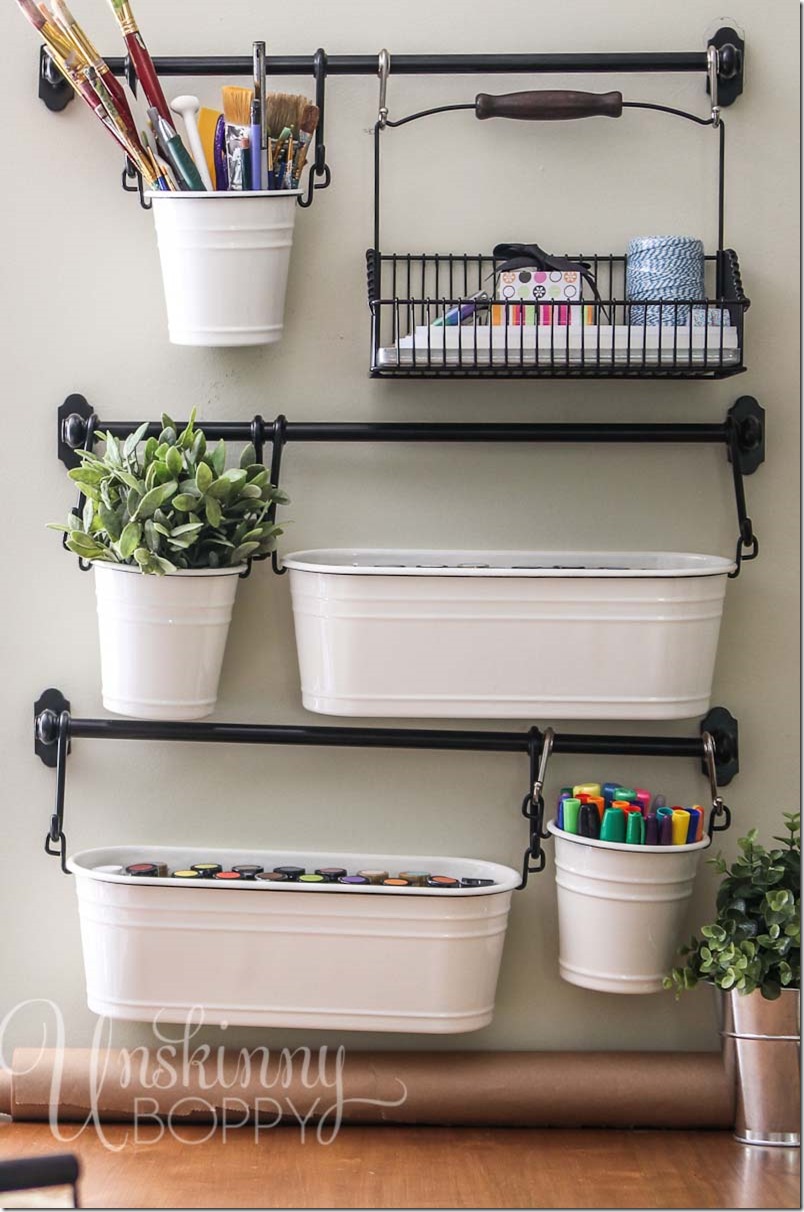
6. Bucket and Hook Storage
Grab some buckets and hooks like Unskinny Bop did to create this storage system that you can fill up with all of your goodies and create more space on your desktop!
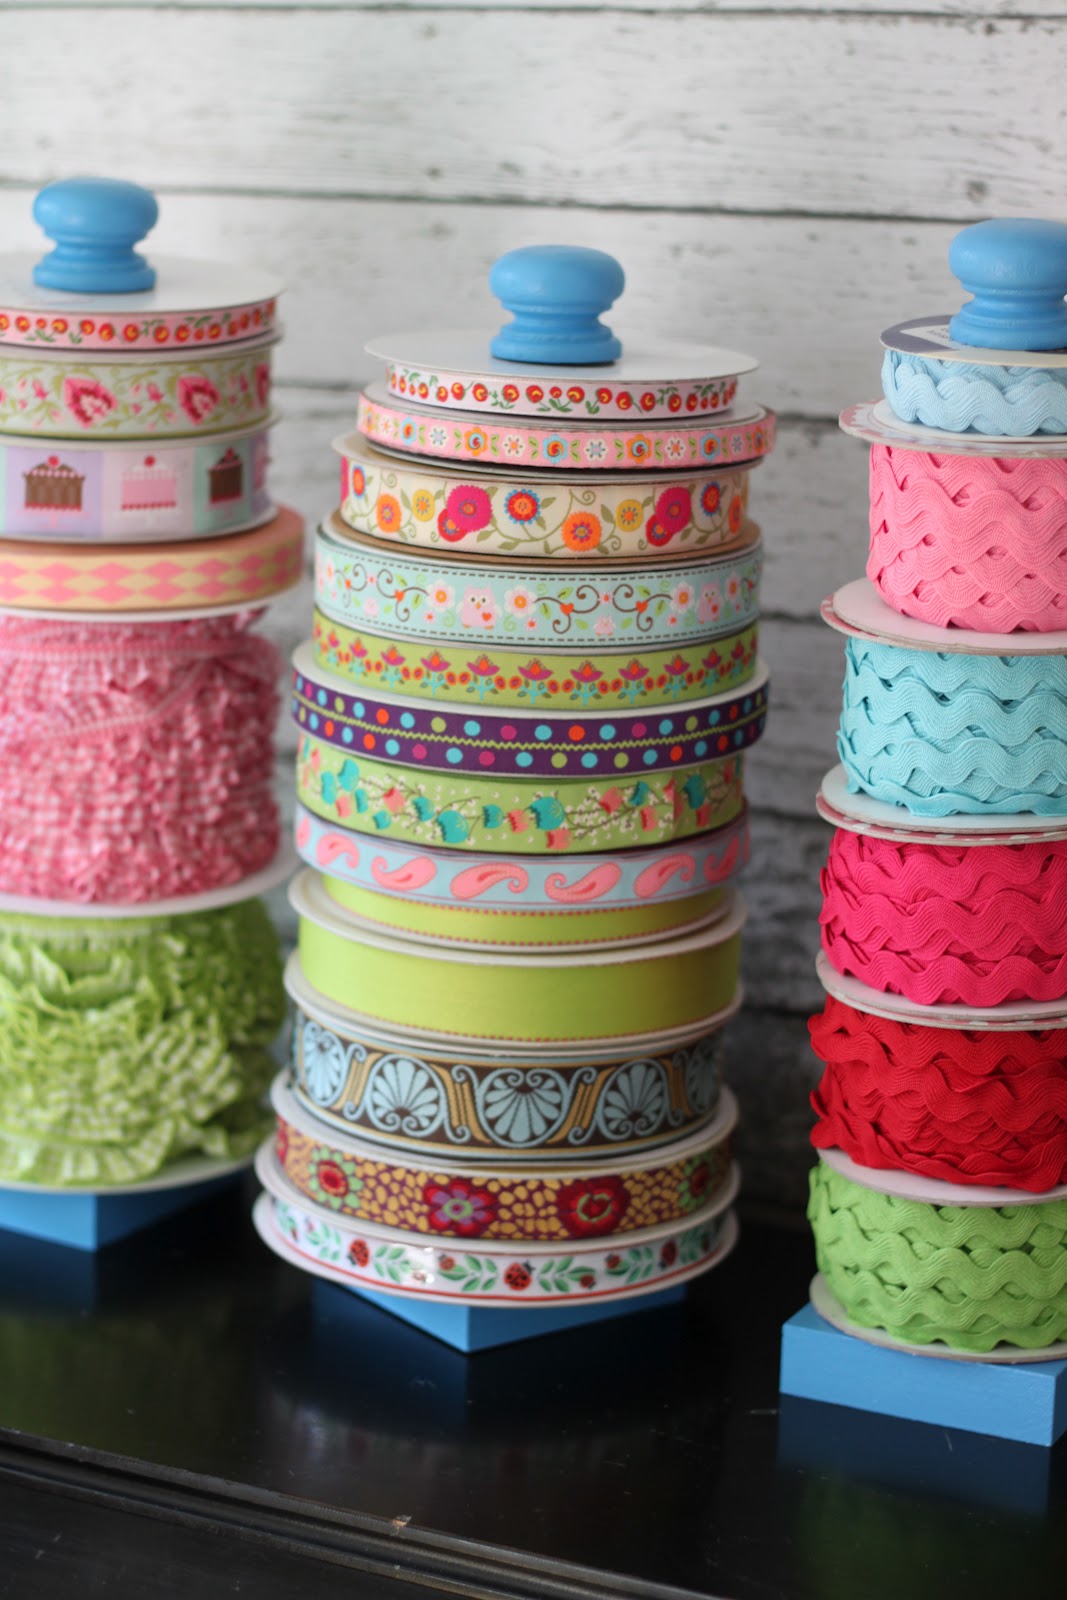
7. Paper Towel Ribbon Holder
Basically, with this tutorial, you’ll be creating a makeshift paper towel holder but instead of paper towels, add your ribbon onto the rod! It’s an easy way to organize and create a functional working space. Thanks The Cottage Mama!
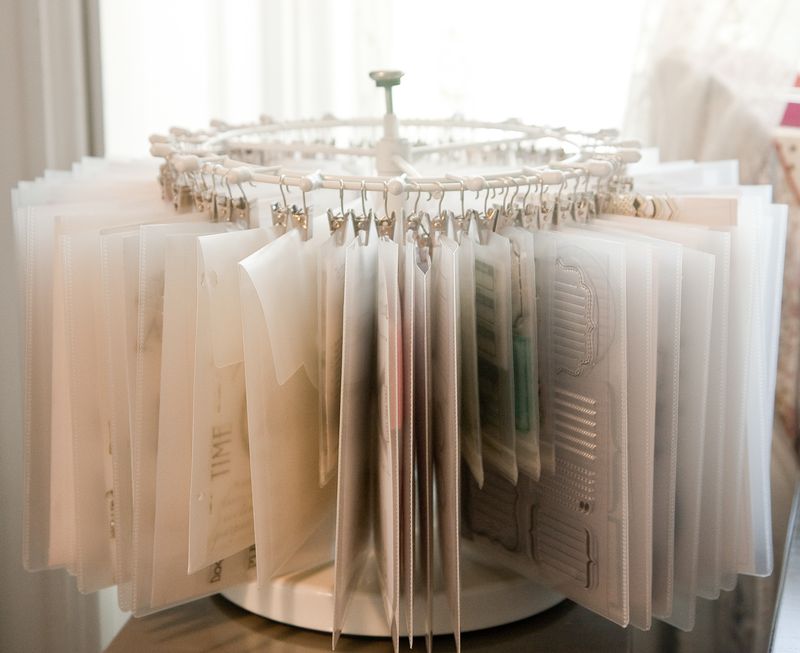
8. Clear Stamp Round Rack
Here’s a wonderful way to organize clear stamps – or anything else you may need to hand and sift through. With some inspiration, Alice Golden made this charming addition to her craft room.
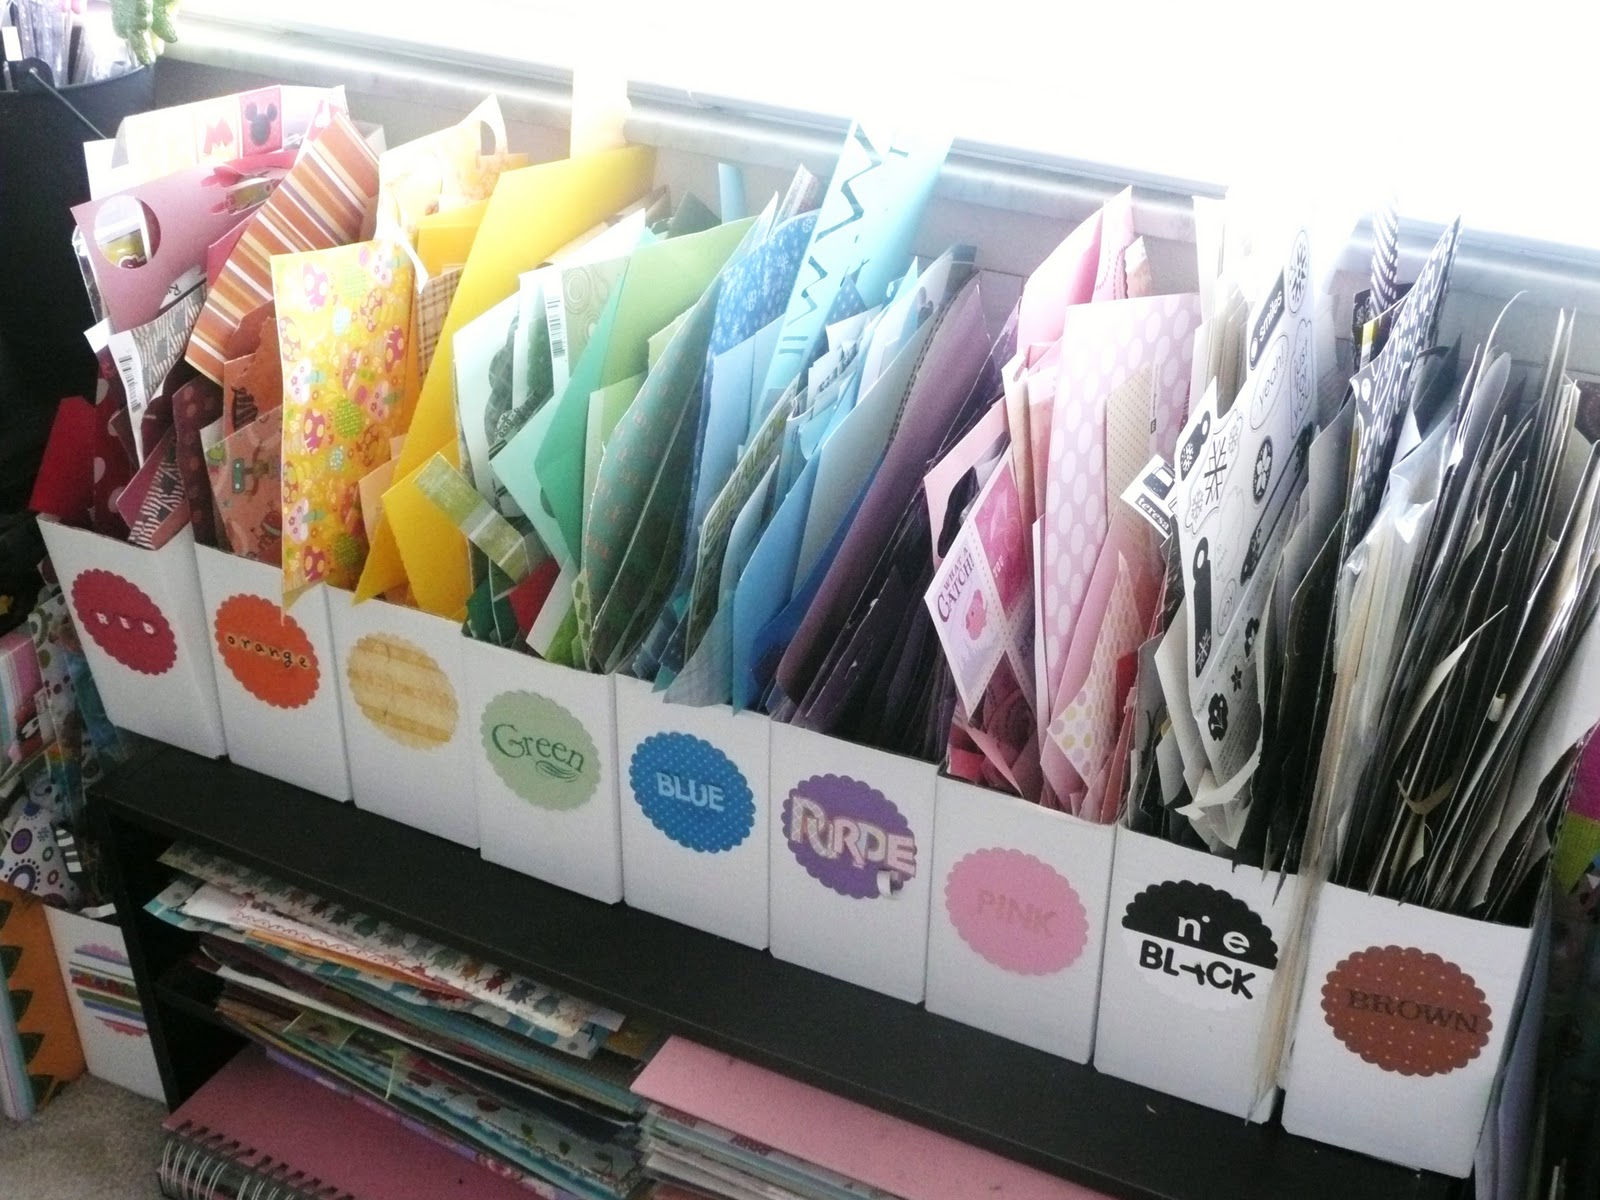
9. Paper Scrap Magazine Holders
Your paper scraps may want to be separated by color and I Love My Three Sons used some magazine holders to do just that. They were labeled and ready to go in an instant!
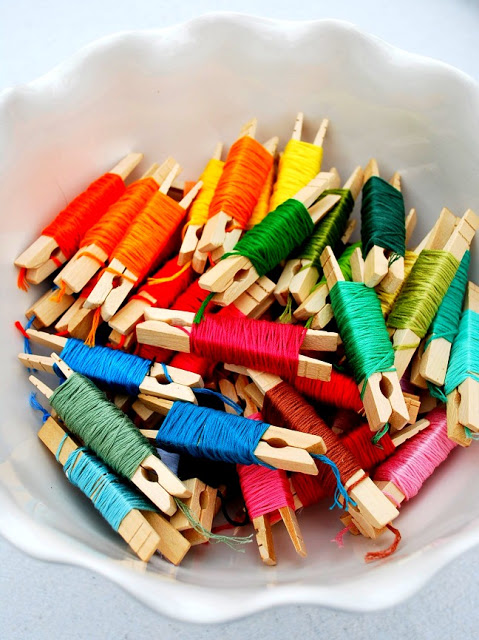
10. Embroidery Floss Clothespins
Mrs. Jones made her embroidery floss so much easier to handle when she added clothespins to the mix. Just wrap and throw in a bowl for a grab-and-go effect.
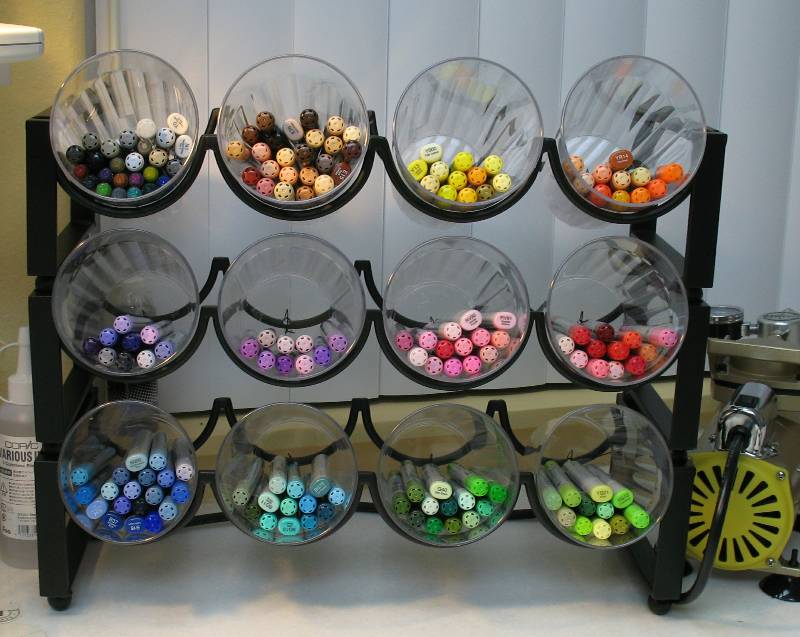
11. Wine Rack Marker Storage
My C.A.S.E. Studies used some cups and a wine rack to organize and separate markers. The possibilities of organization are so easy and endless with this idea.
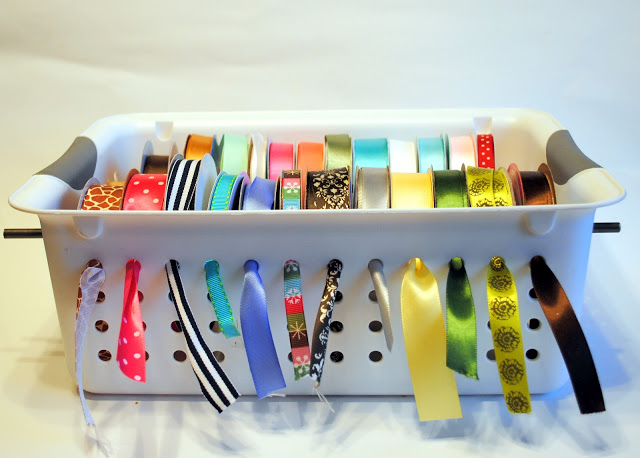
12. Ribbon Basket
Spunky Junky grabbed a basket, spent $5 and made this happen for her ribbons. It’s such a genius way to nix a problem and make your crafting quicker and more efficient.
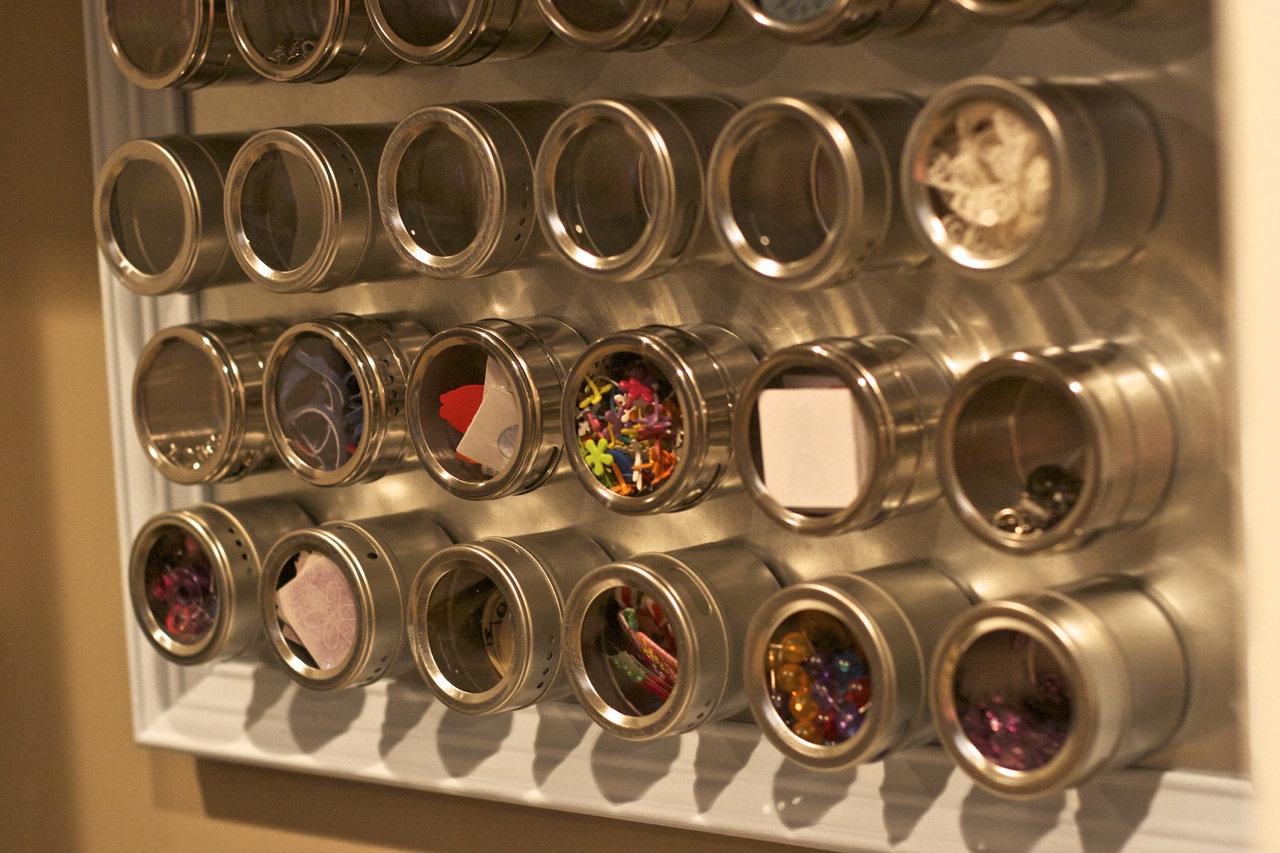
13. Magnetic Crafting Wall
Create a magnetic wall piece to hold your smaller necessities. With spice canisters you can make this happened in an organized and modern way, check it out at Brady Lou.
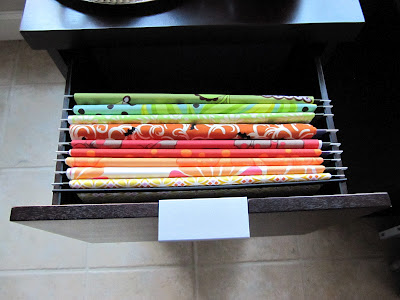
14. Fabric Filer
For extra fabric learn how you can file it over at The Thinking Closet. It gets tucked away, without causing any clutter, but also making it easier to find what you need.
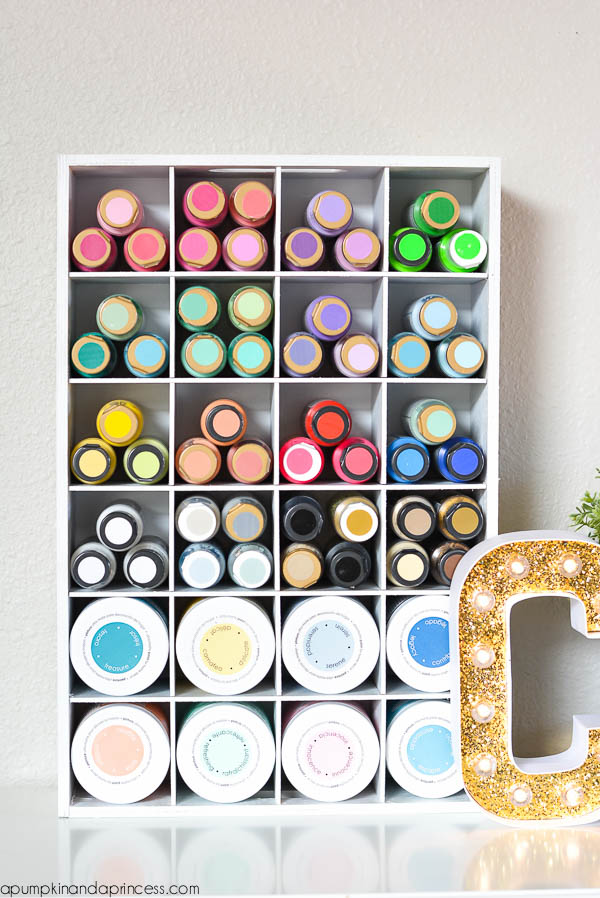
15. Paint Cubbies
Have your paint ready to go in a cubby made just for them. Have the color facing outward to find what you need in a hurry too just like A Pumpkin and A Princess shows.
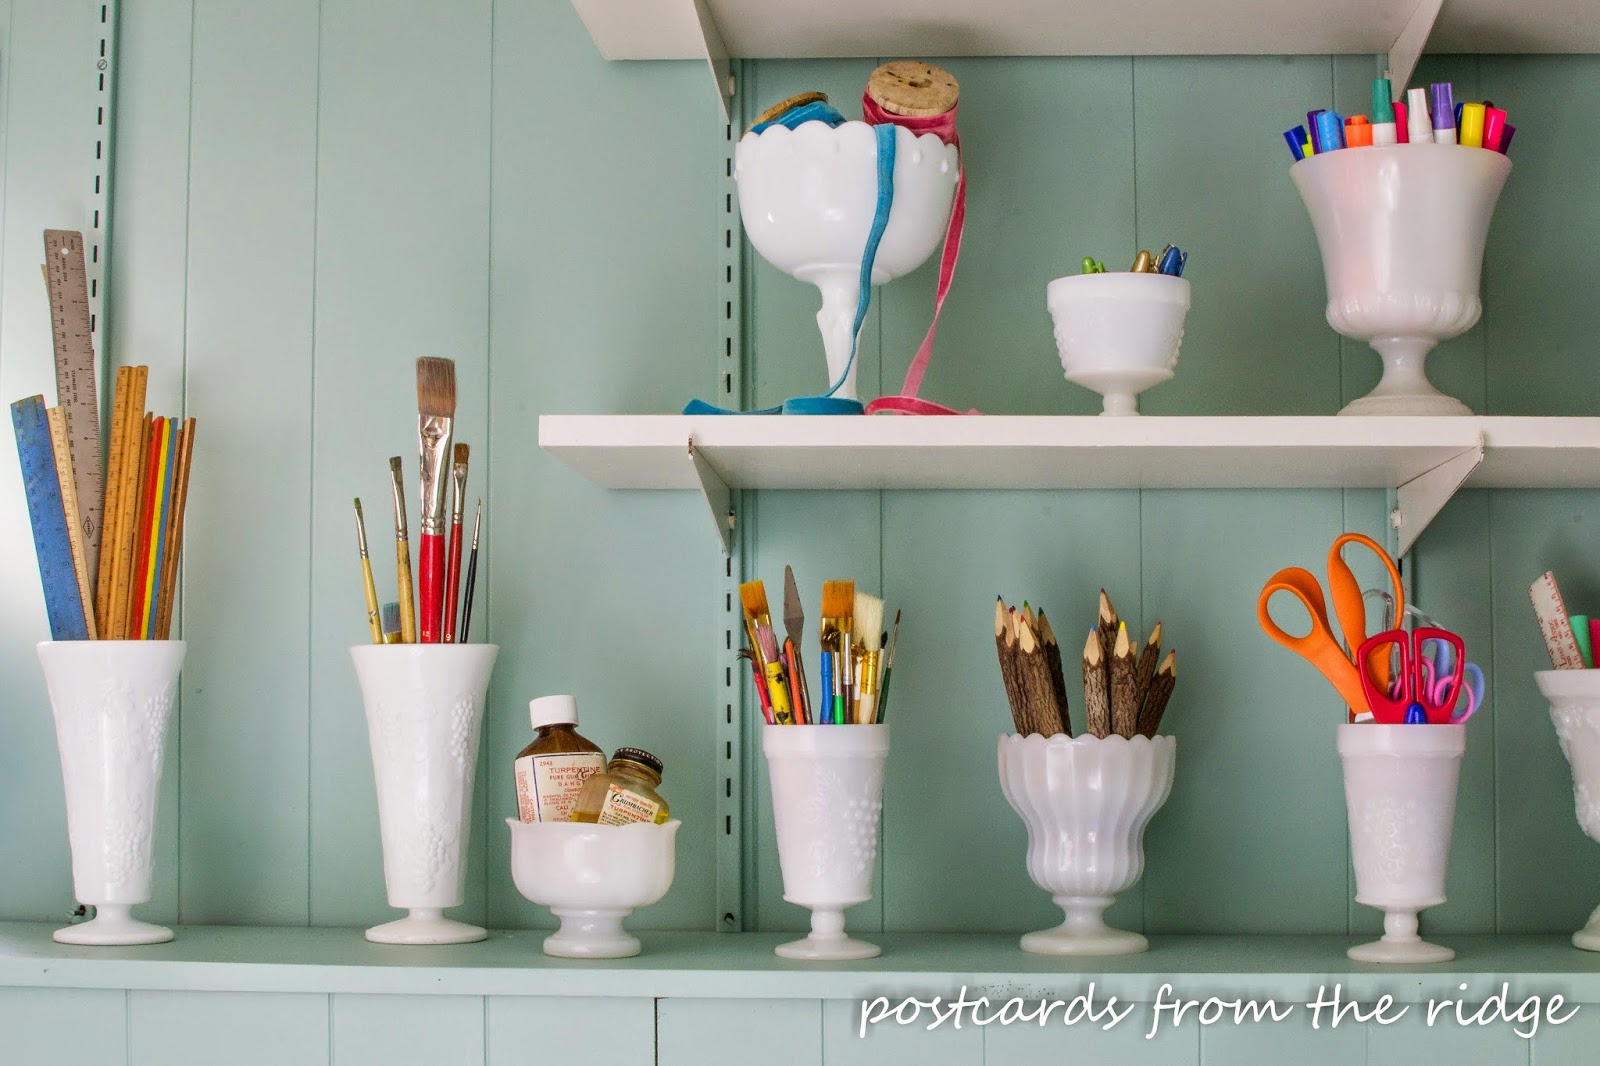
16. Displayed Organization
Set up a beautiful display, designed by you, using older vases, dishes and the like. How can we help but gush over this gorgeous scene at Postcards from the Ridge?
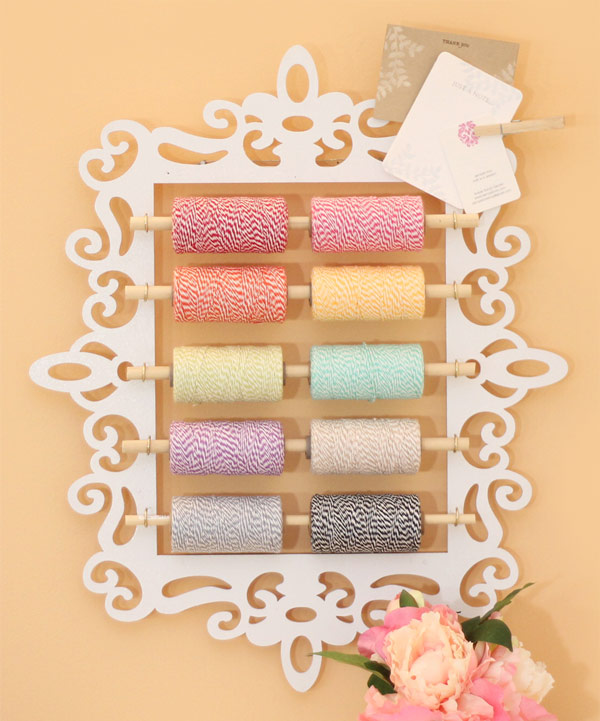
17. Twine Wall Organizer
This twine wall organizer is quite the work of art don’t you think? Learn how to make your own over at Damask Love.
18. Washi Tape Shutter
Here’s another DIY that we’re swooning for. This shutter repurposed into a washi tape wall and organize is definitely one of the more genius projects that we’ve seen. Thanks Crafting in the Rain for the creative inspiration!
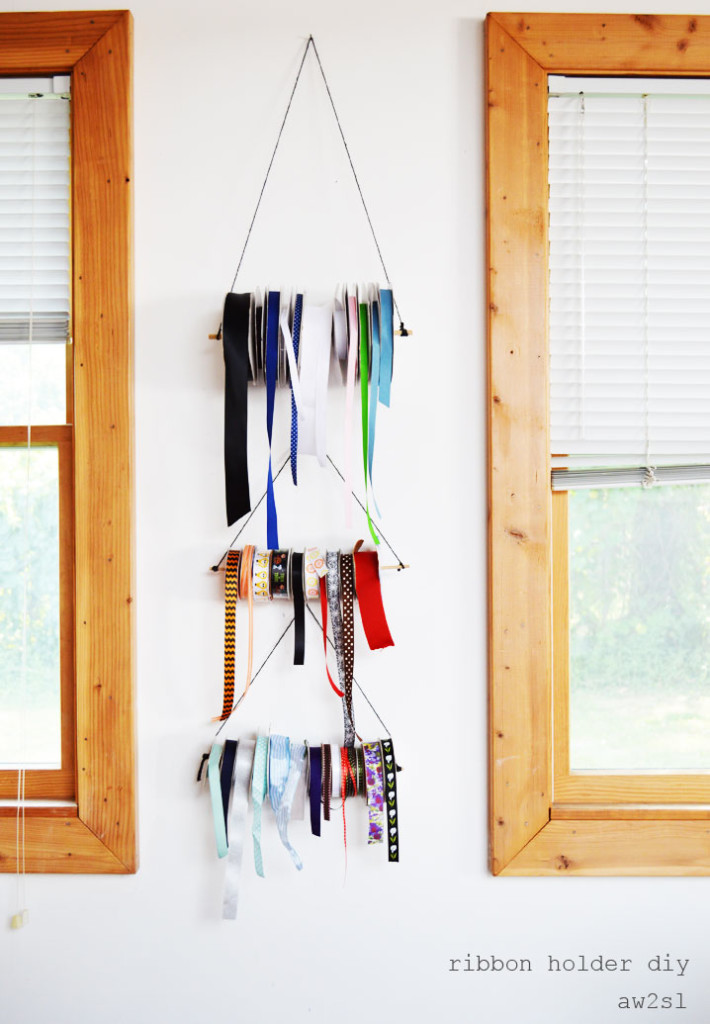
19. Ribbon Wall Organizer
We’re in absolute love with this ribbon wall organize from AW2SL. Some yarn and a dowel create the foundation to this minimalistic, functional and stylish piece!
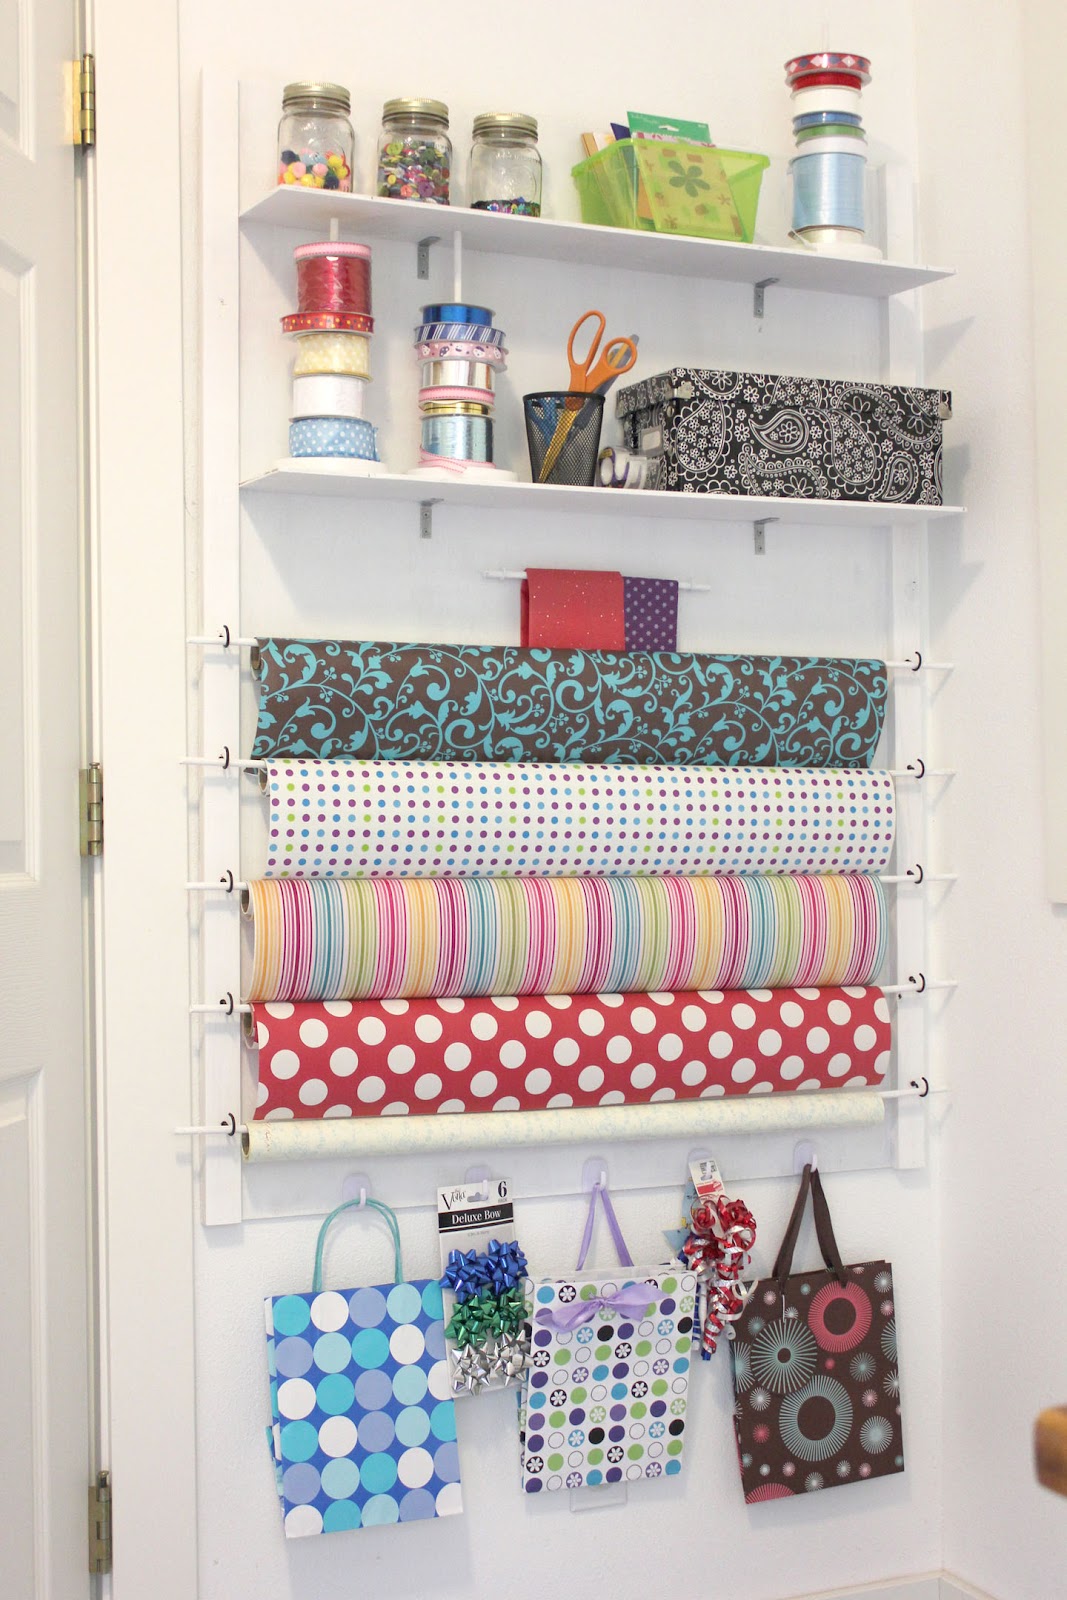
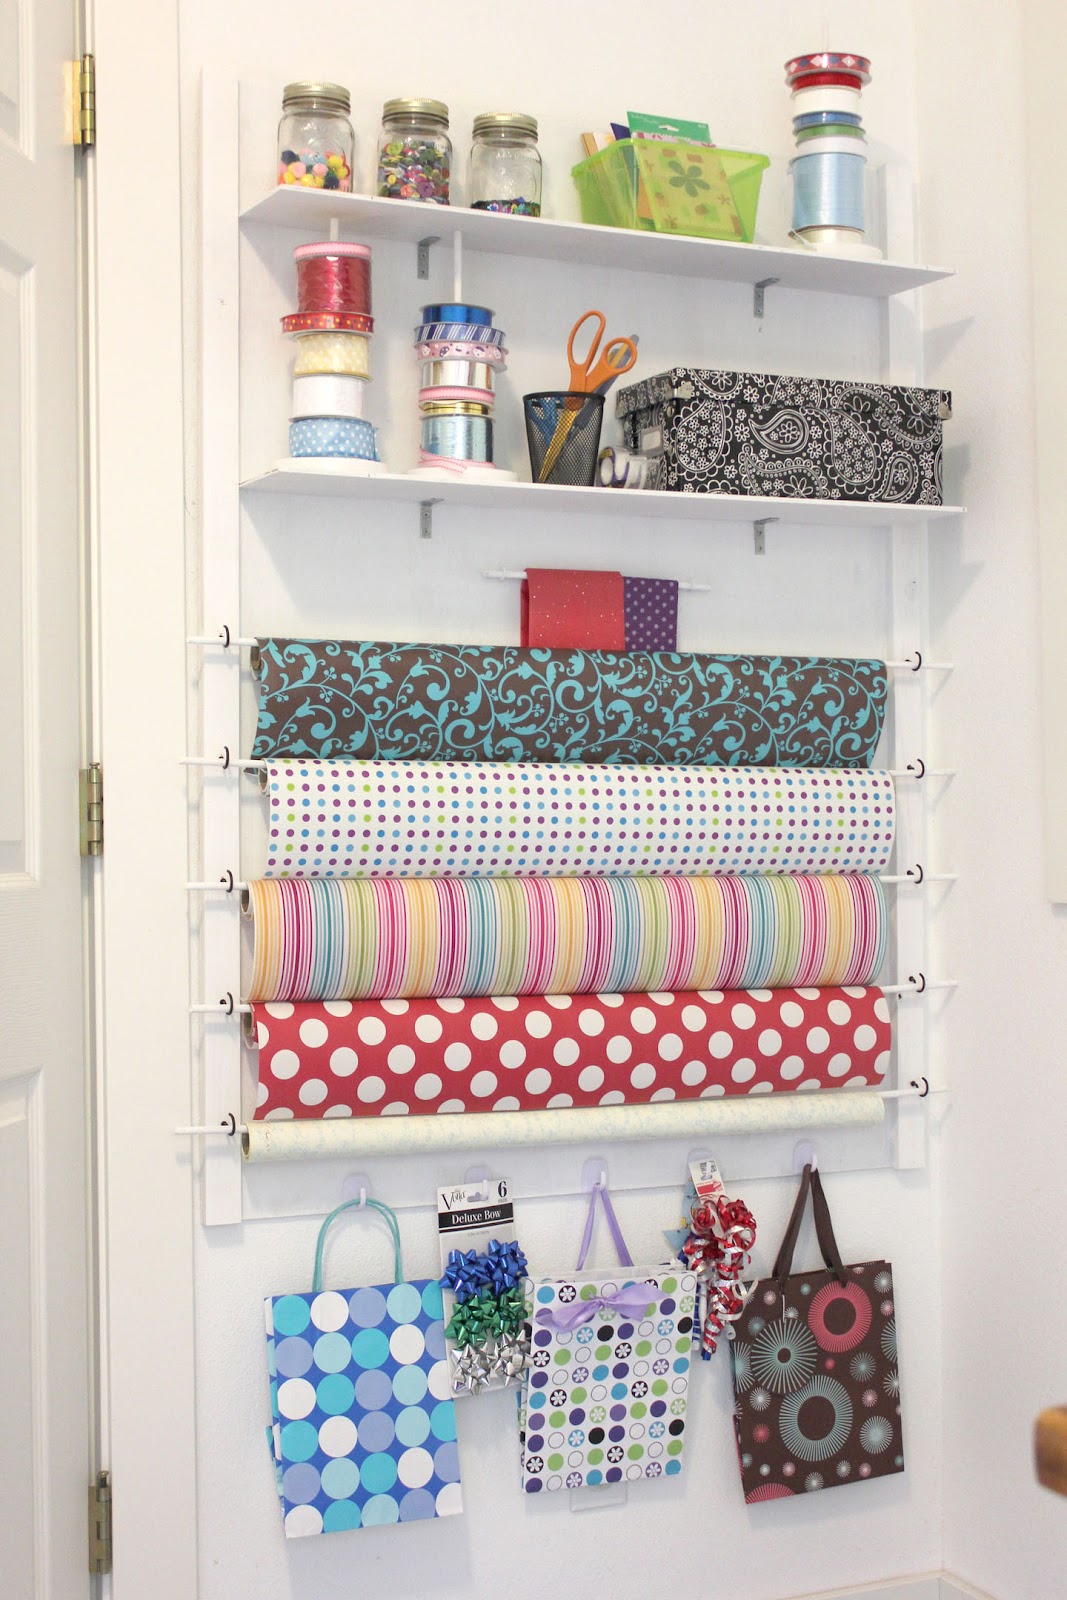
20. Dowel Rod Wrapping Paper
Repeat Crafter Me used some dowel rods to create a functional and easy place to wrap gifts in an instant without strewn supplies or an ample amount of space to get the work done.
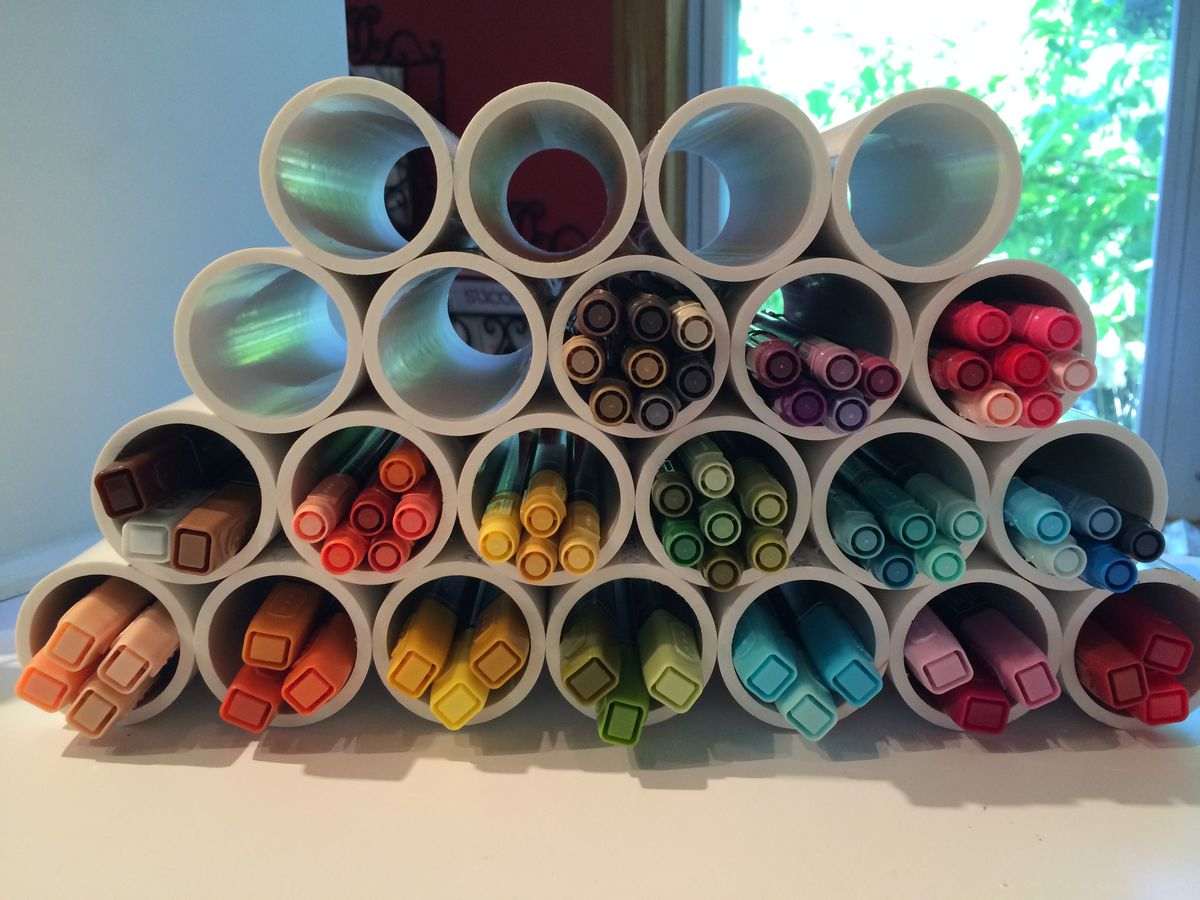
21. PVC Pipe Marker Storage
Grab some PVC pipe and start working on this snazzy DIY from Stamping Country. Creating an architectural piece that will organize and separate all of your markers, pens, paint brushes and more!
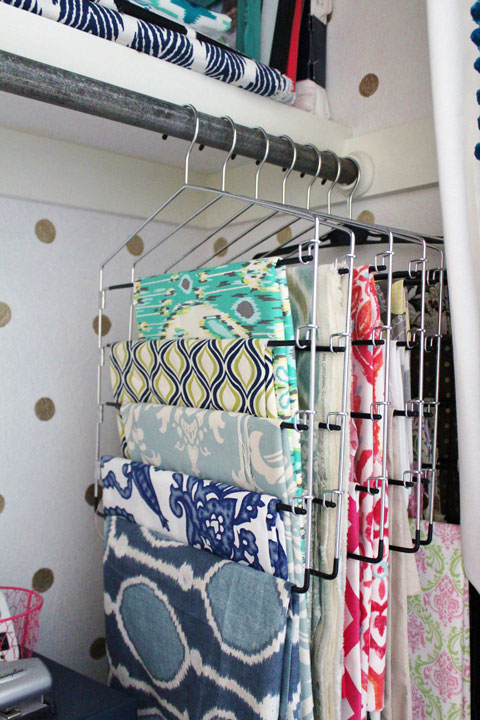
22. Hanging Up Fabric Scraps
Use multi-rung hangers for organizing your fabric scraps like iHeart Organizing did! It’s fast, efficient and super easy to make happen.
23. Dip Container Storage
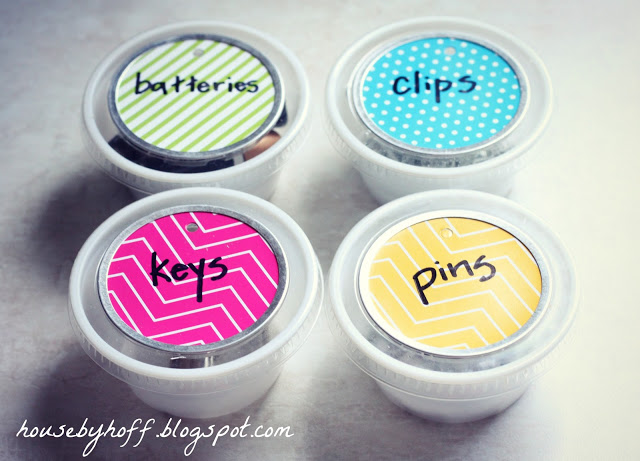
For your pins, paper clips and other small items use dip containers to organize them. Slide them inside the drawer after you’ve embellished them a little and you’ll never lose another battery or key again! Hop over to House of Hoff to see how they make their’s work.
24. Redone Diaper Boxes
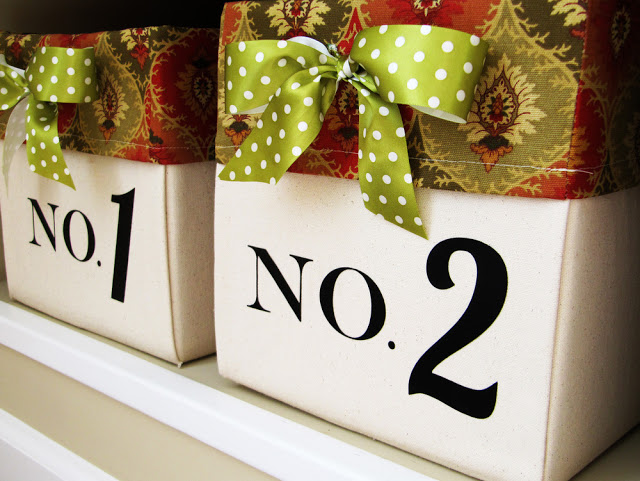
Use some older diaper boxes, cover them up and create a stylish way to organize your arts and crafts supplies. Check out the DIY over at Positively Splendid.
25. Paper Scrap Crates
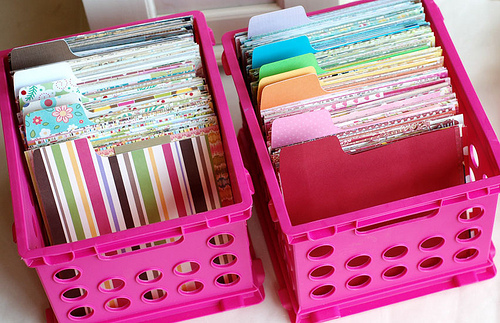
Grab some inexpensive crates and dividers as a way to store your scrapbooking paper and scraps. You can even divide them by colors and prints like Paper Crafts did!
26. Sequins Stand
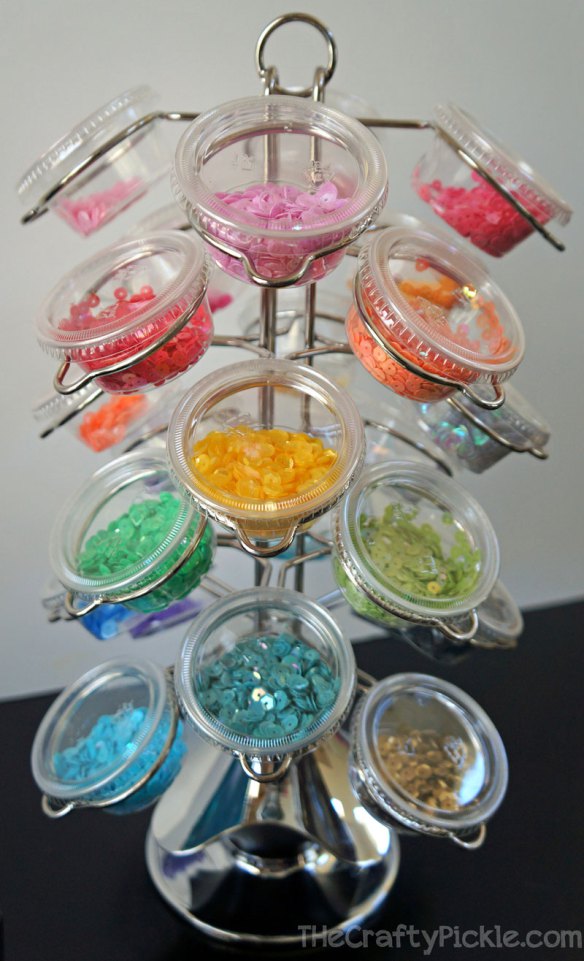
From sequins to beads, this K-cup stand is a great way to create a spot just for your tiniest of embellishments. Thanks to The Crafty Pickle you can see the easy steps taken and make one for yourself!
27. Movie Stand Ribbon Rack
How does taking an old movie (DVD) stand and turning it into a ribbon rack. Organized and ready for some wrapping, we love this free-standing piece from Fynes Designs.
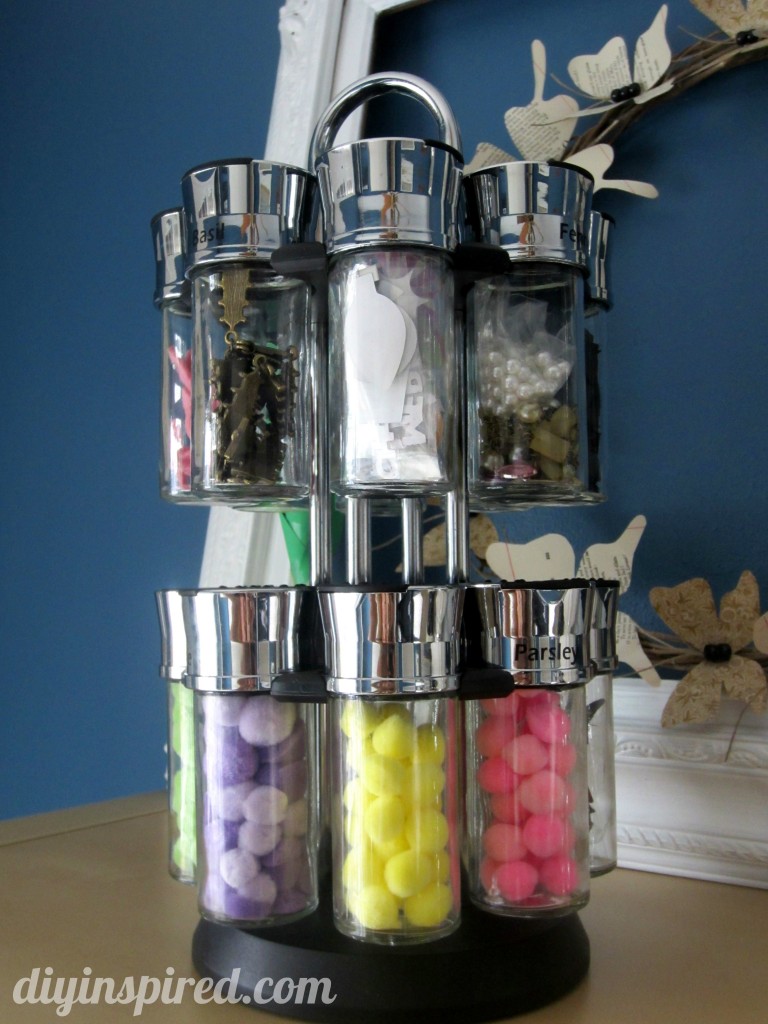
28. Spice Rack Organizer
Use an old spice rack and repurpose it for your crafting space! DIY Inspired used it to hold beads and other tiny embellishments that can easily get lost in the shuffle.
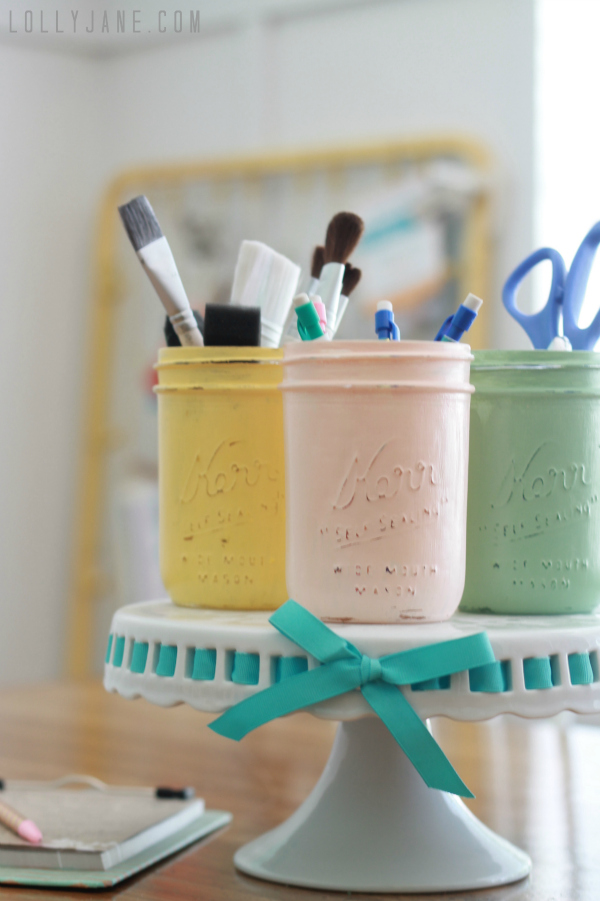
29. Distressed Pastel Crafting Jars
Create some beautiful pastel-colored, distressed jars that you can fill with paintbrushes, pens and more like Lolly Jane did! Display them on the windowsill, on the cake stand or wherever you can grab and go easily.
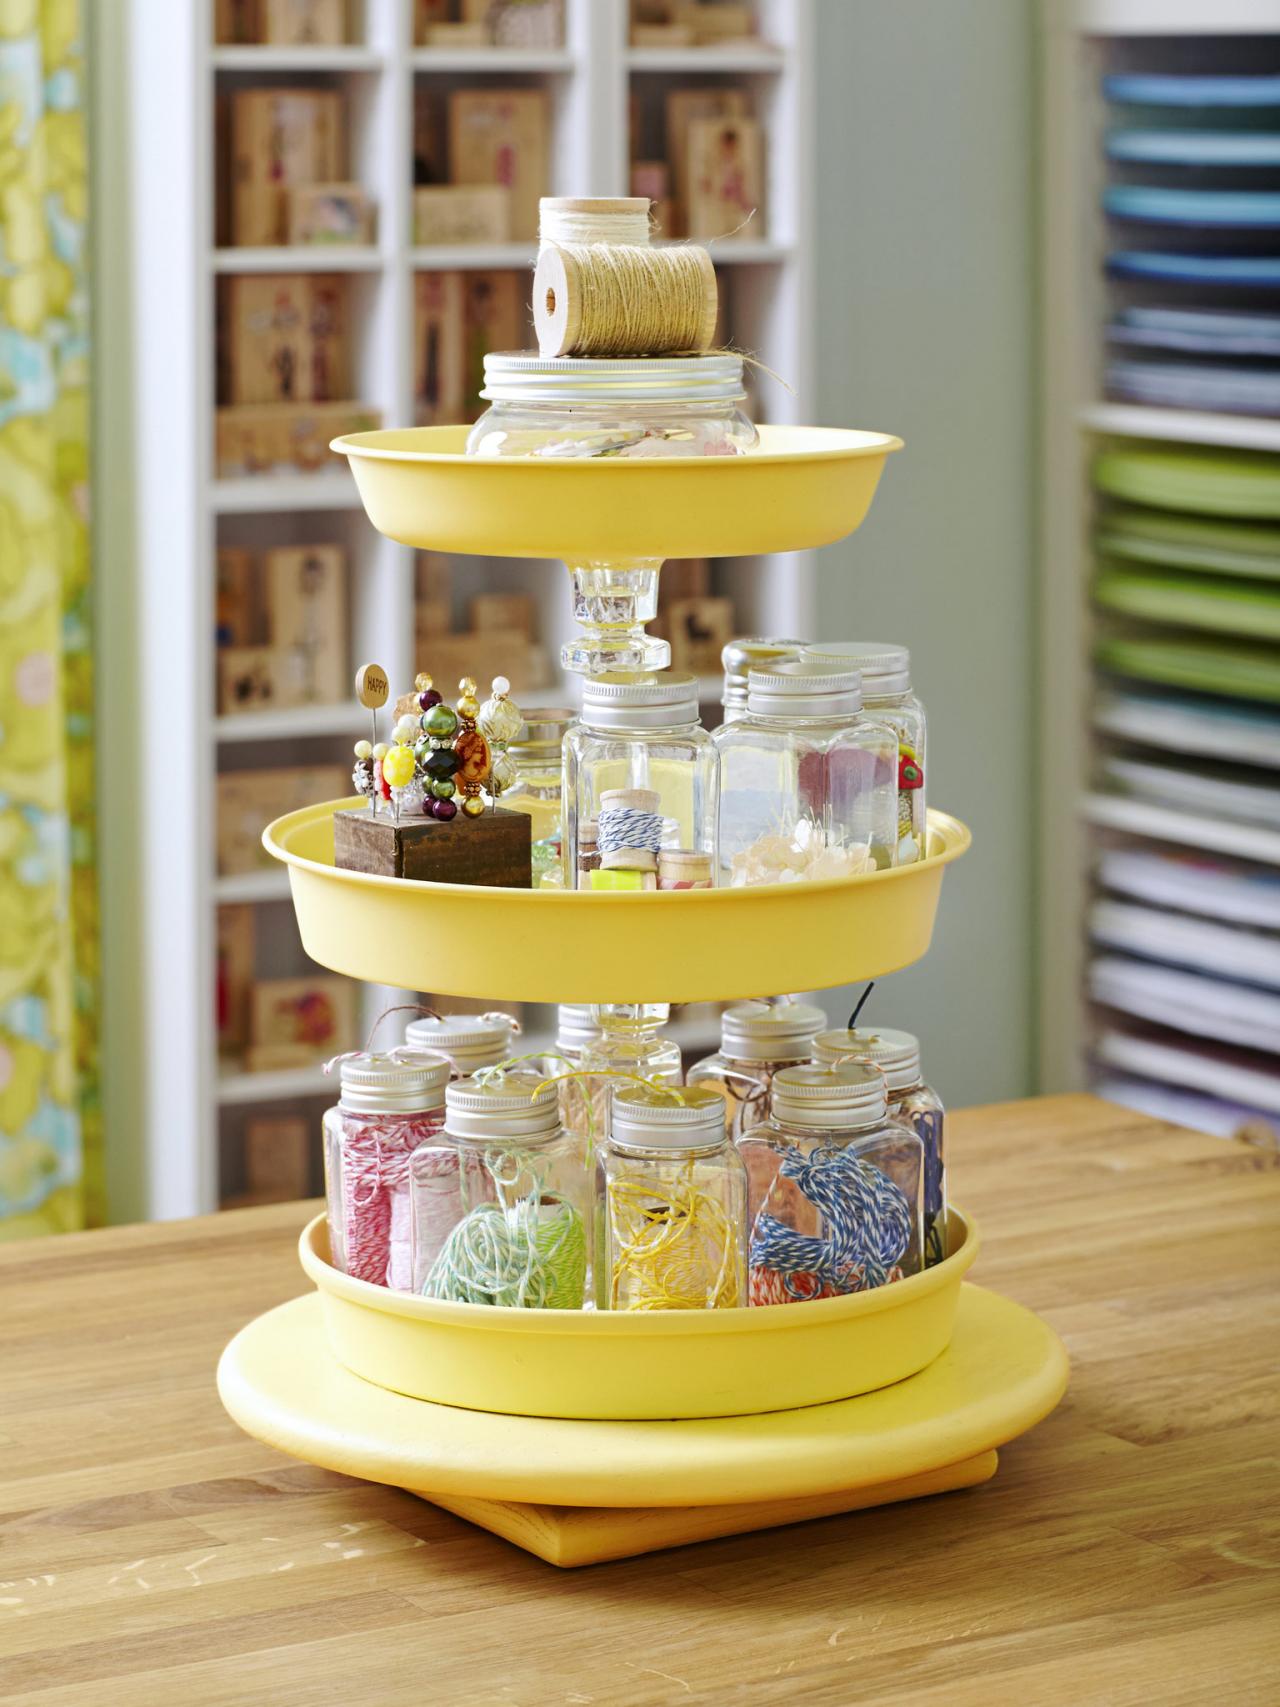
30. Miscellaneous Tiered Organizer
DIY Network shows us how to take a lazy Susan, cakes pans and candlestick holders to create a tiered piece for all your go-to miscellaneous bits. It’ll look pretty at the desk and keep chaos at bay.

Such a great compilation of tips! I noticed, however (and it’s not a big deal, but thought maybe you’d want to know) that you went from 3 to 5, so there’s no tip number 4.