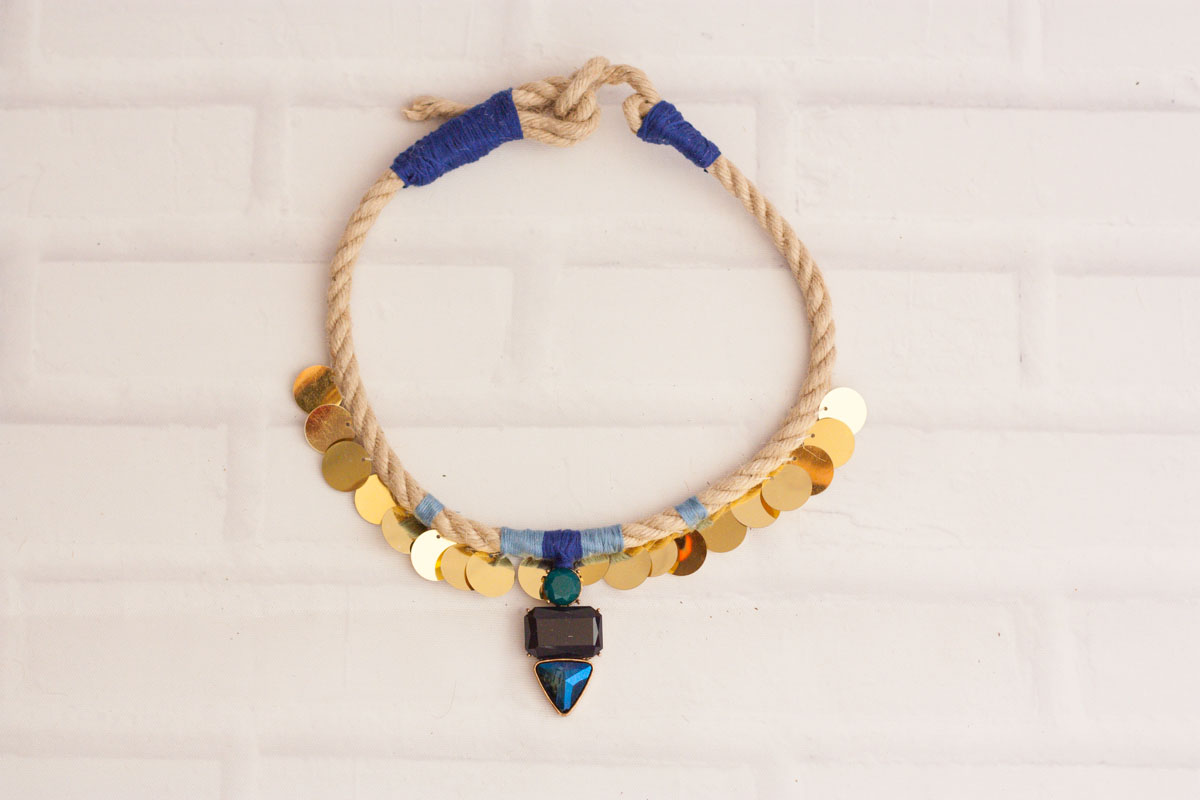
DIY Rope Statement Necklace
Let’s make a statement shall we? There’s something about these kind of accessories that excites and intimidates me at the same time. I see them on other girls and think they’re stylish, so cool, and I must have mine too. Then when I’m shopping my own jewelry all I end up with is simple minimal essentially shaped jewels – which is cool also, but in a more sophisticated kind of way. I want to be bold, make a statement, stand out from the crowd! So I decided to make my own diyed statement necklace, making it even bolder by using rope and a nice big rhinestone filled central pendant that a friend gifted me. She was getting rid of it actually! The theory was: if it doesn’t bring you joy anymore, get rid of it. It does bring me joy though, hand over lady ;-)
Plus I had lots of rope standing there with no apparent use: after making a small round mirror, here’s another nice use for rope. Let’s get making!
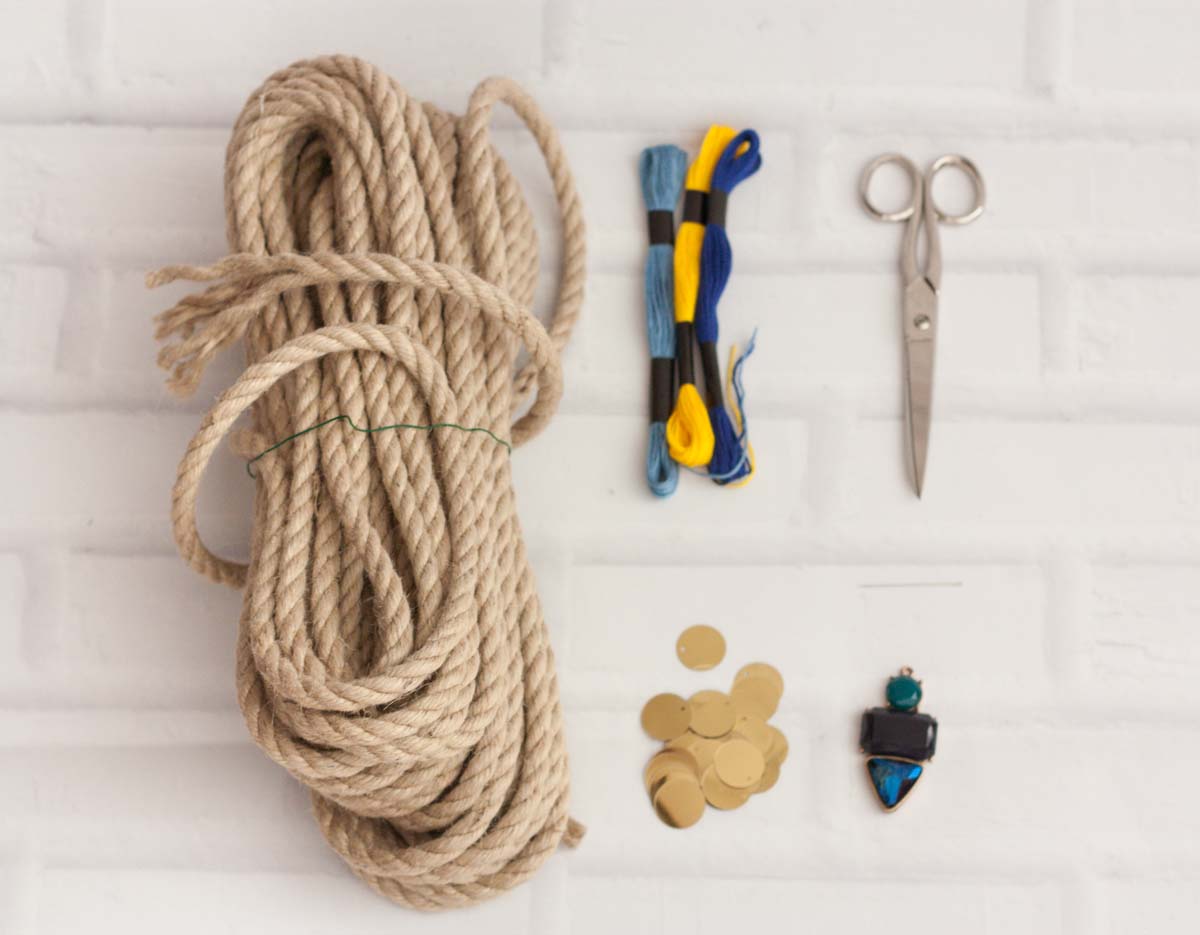
Materials:
- rope
- scissors
- medium thickness coloured thread (the one used for embroidery for instance)
- needle and white thin thread
- central pendant of your choice
- medium gold sequin
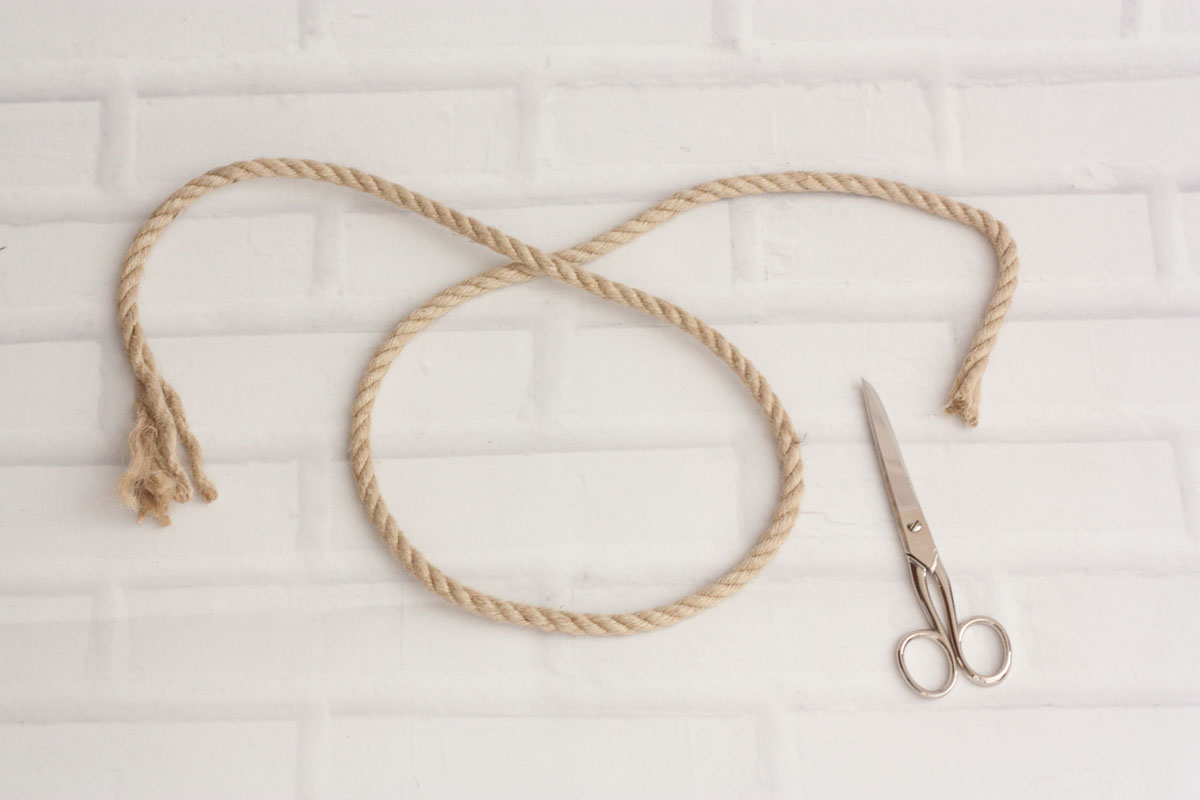
1. Start by measuring and cutting the lenght around your neck plus some extra cord to make the noose. Some ropes are really tough to cut with scissors: I had to use a cutter and work on the singular elements.
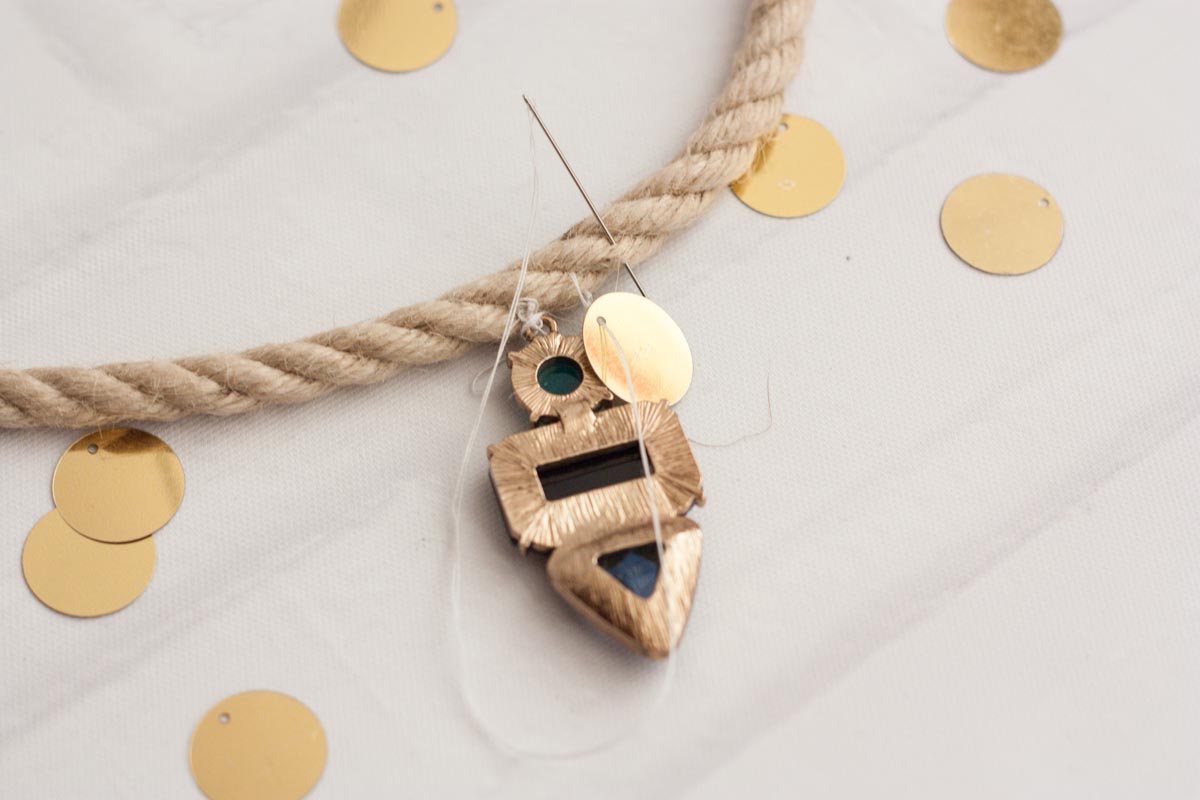
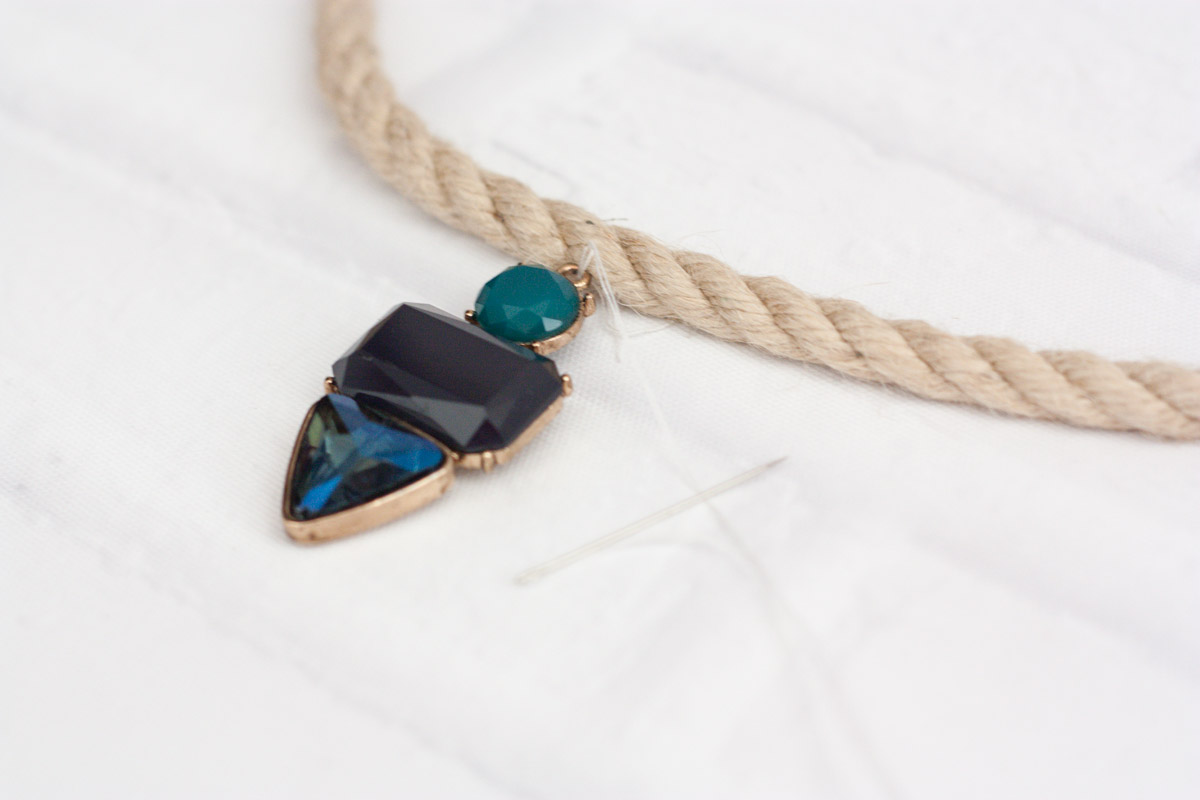
2. Find the center and hand sew directly your pendant to the rope. Try and make the stitches as near and short as you can, but don’t worry if they’re visible we’re going to hide them in a moment.
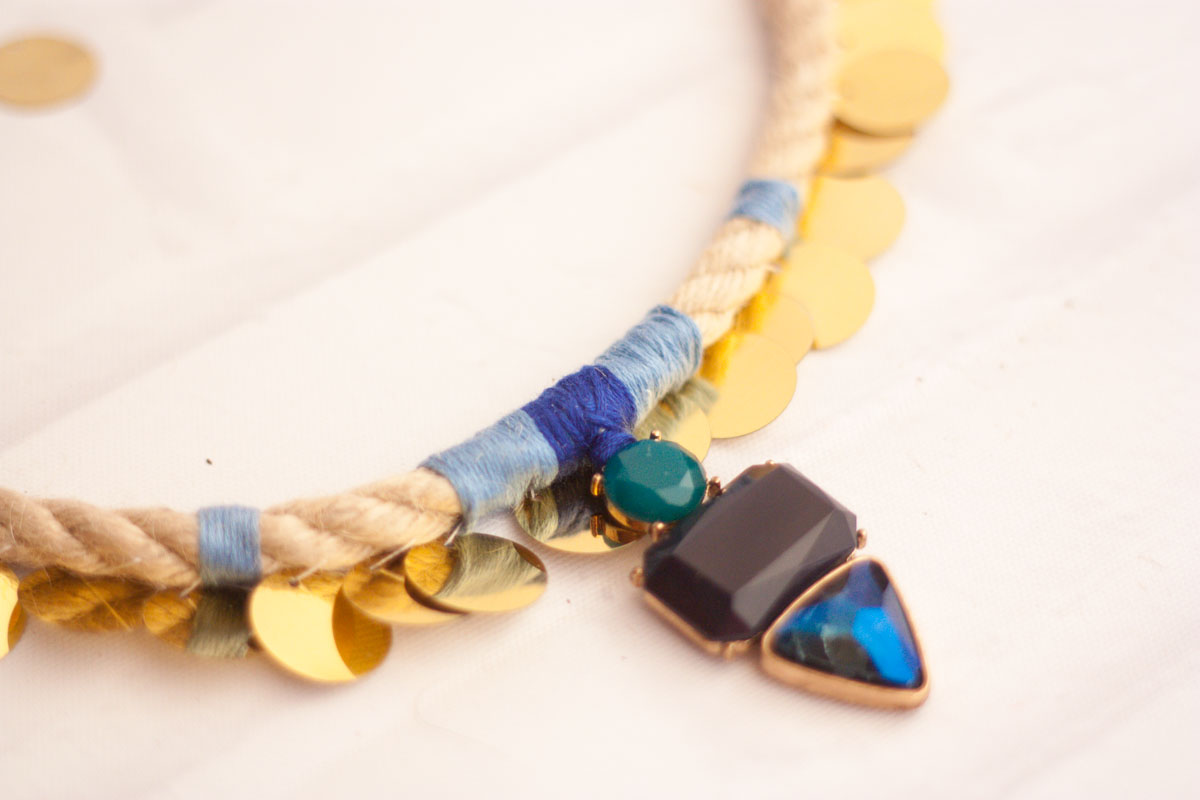
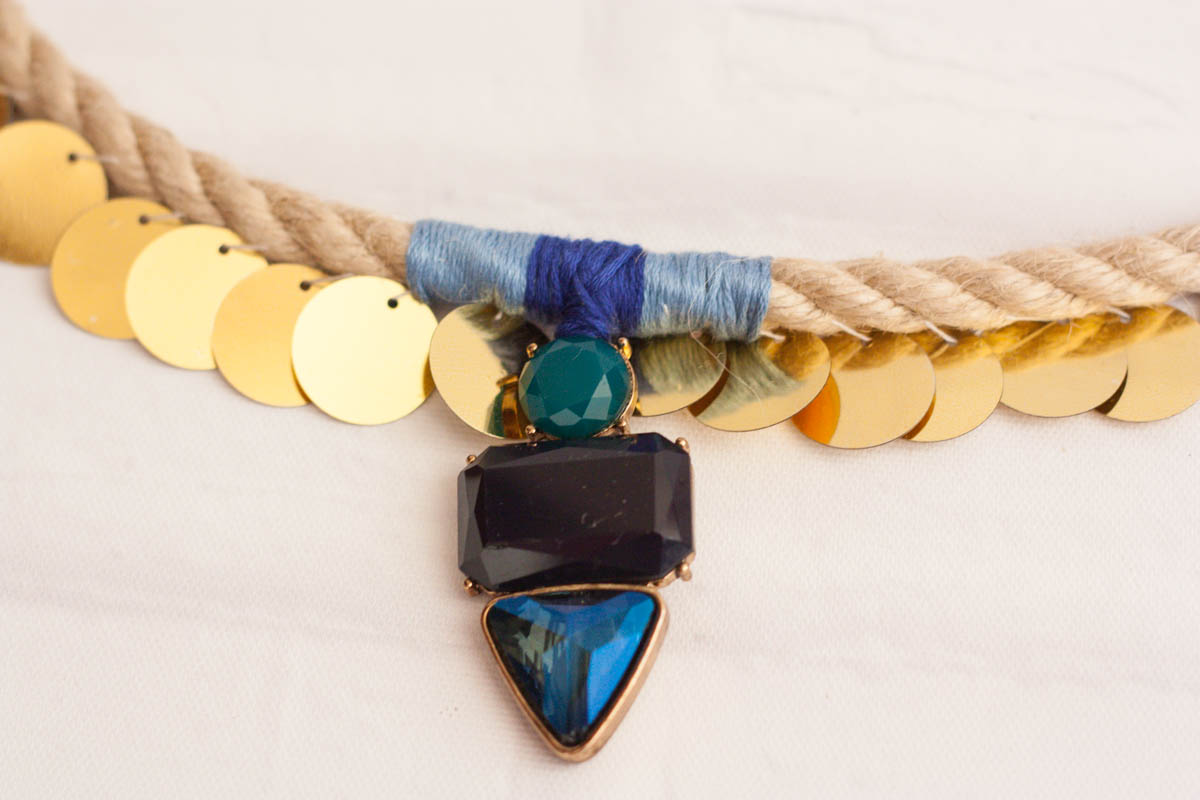
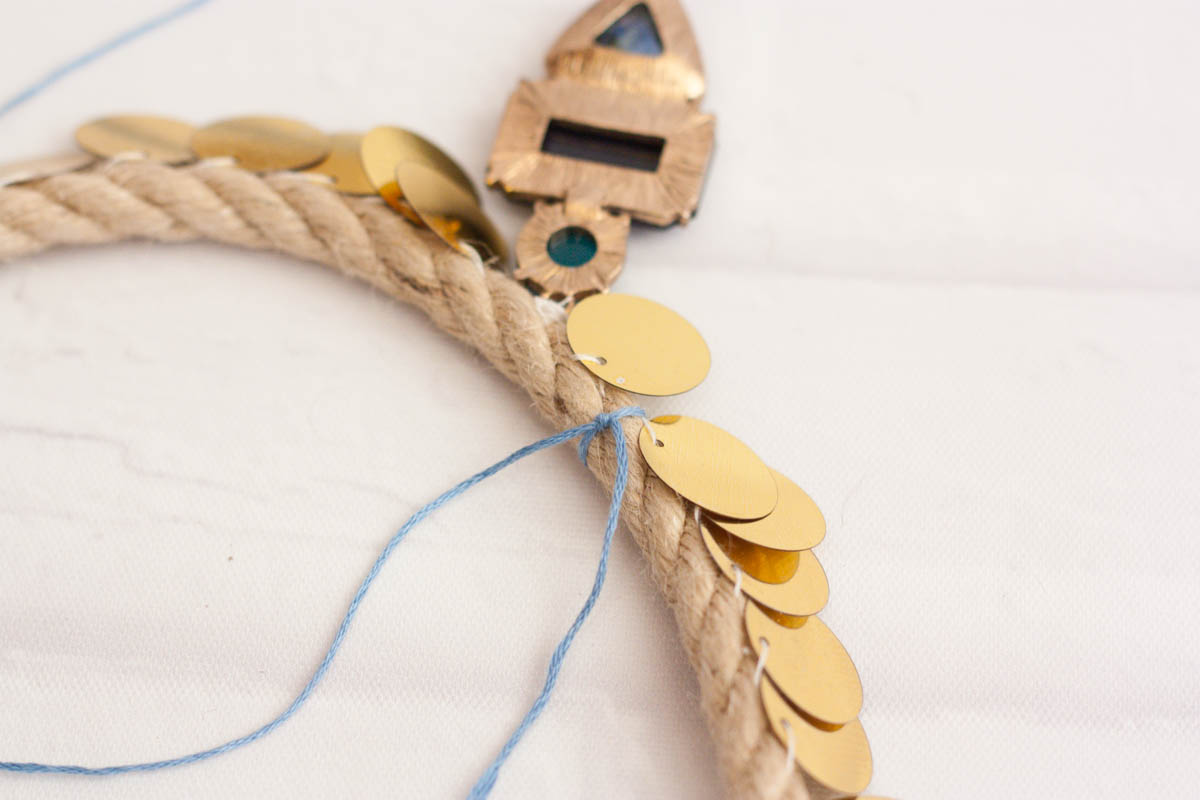
3. Work on the wrong way round and sew your gold sequin pendant all over the edge on the two sides of the pendant. Wear it on to see how far you need to go: keep in mind the decorating elements shouldn’t continue also behind your collarbone. Make sure all the sequins are placed at the same distance between one another and at the same height of the rope.
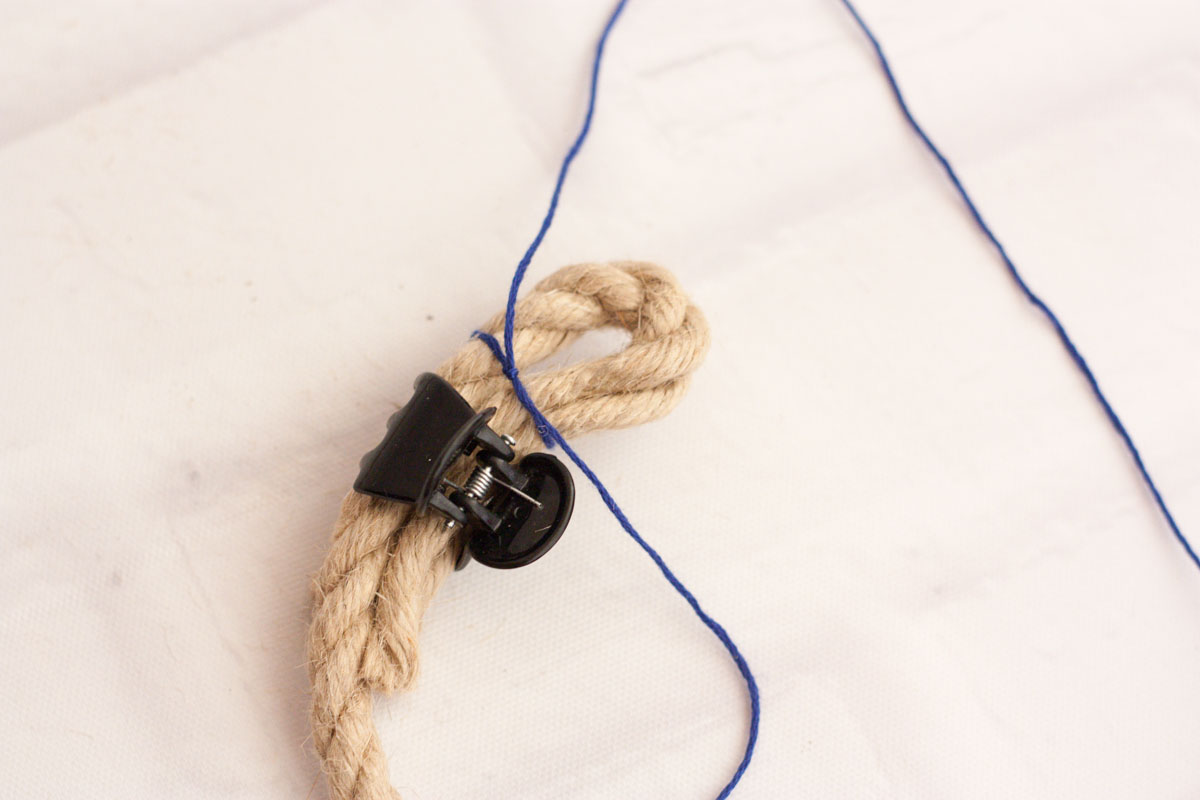
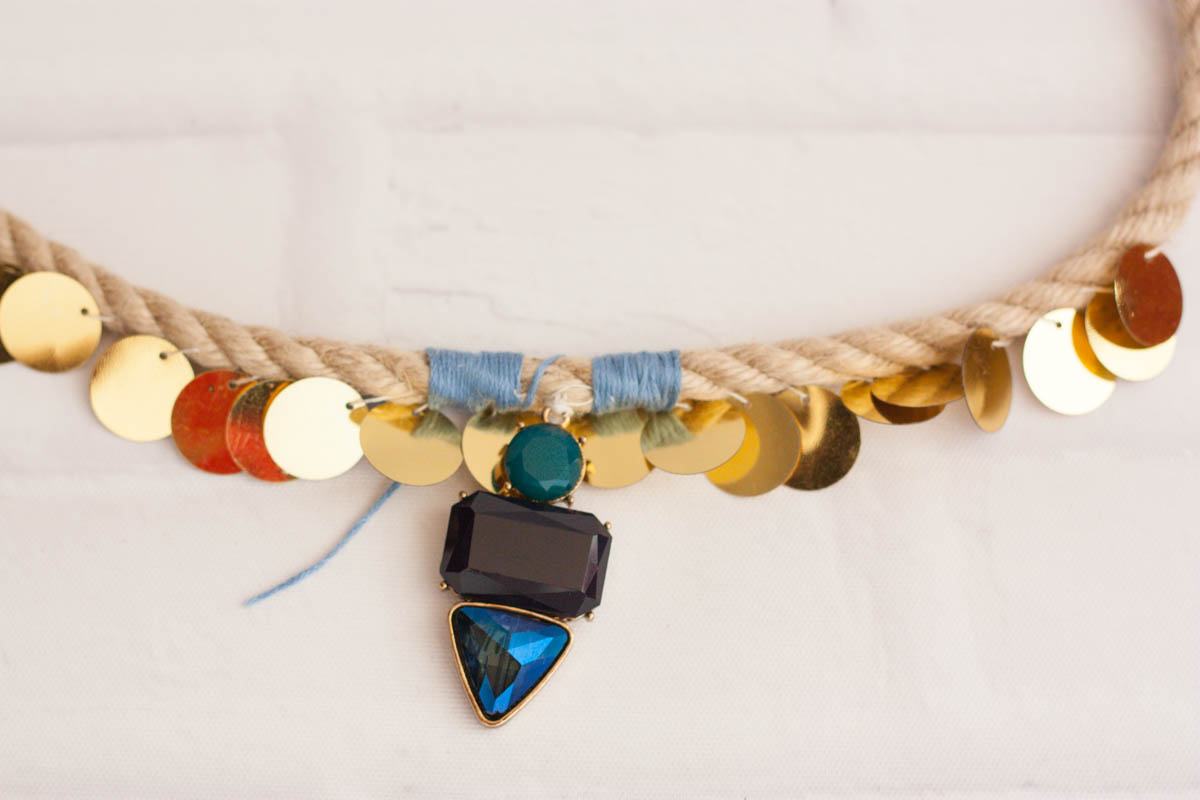
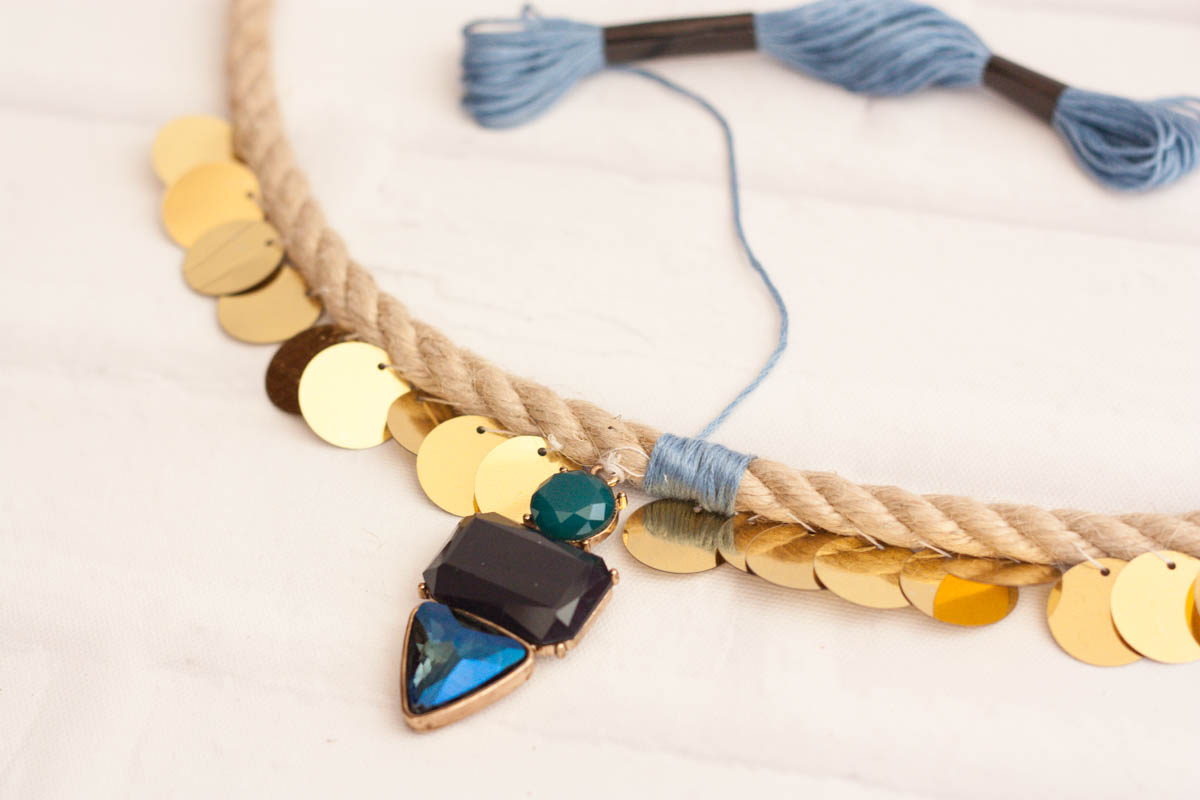
4. It’s actually already cool as is, but we need to cover up all the messy stitches we made! That’s why we’re using the thread decor excuse ;-) Start with your chosen colour at a few inches to the side of the pendant and, on the back side, make a knot, leaving both threads long. Here’s the how-to: one thread, the longer one, goes twisting around the rope (very tight!) whilst the second one, medium length, runs all the way down the rope pinched under the twisted one. With this excamotage, at the end of the twisting you’ll have again two ends that can easily be knotted together and stopped from running. Go ahead, twist! When you come aproximately near the central pendant, leave a blank space and continue just after.
5. Use the same process as in step 4 to twist around the pendant with a darker coloured thread. Go ahead and make more twists to cover well all the stitches.
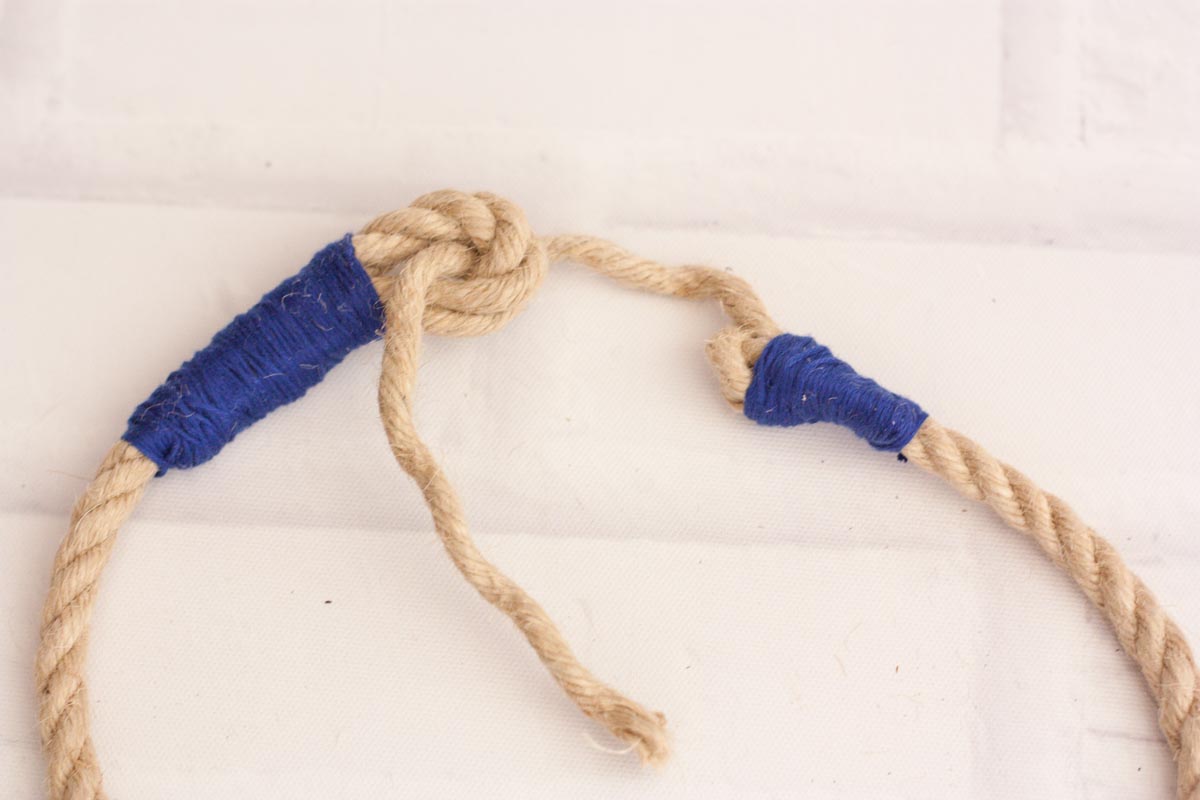
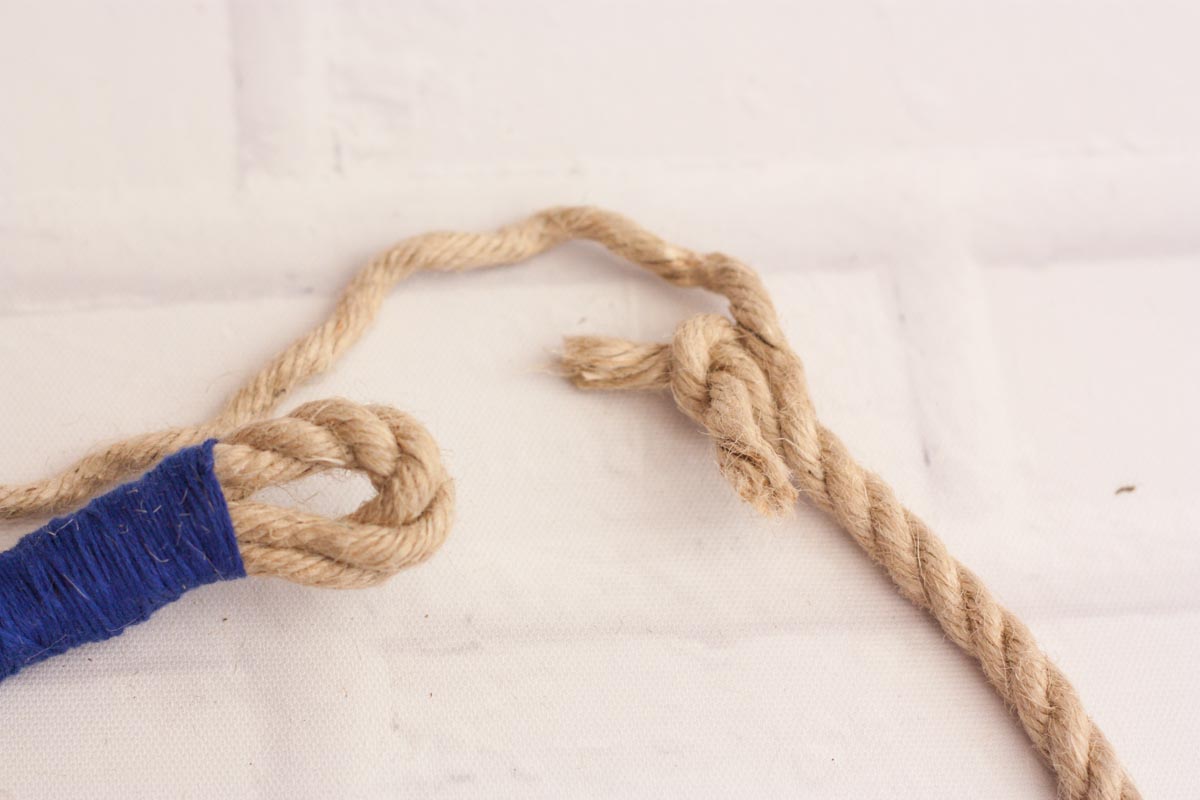
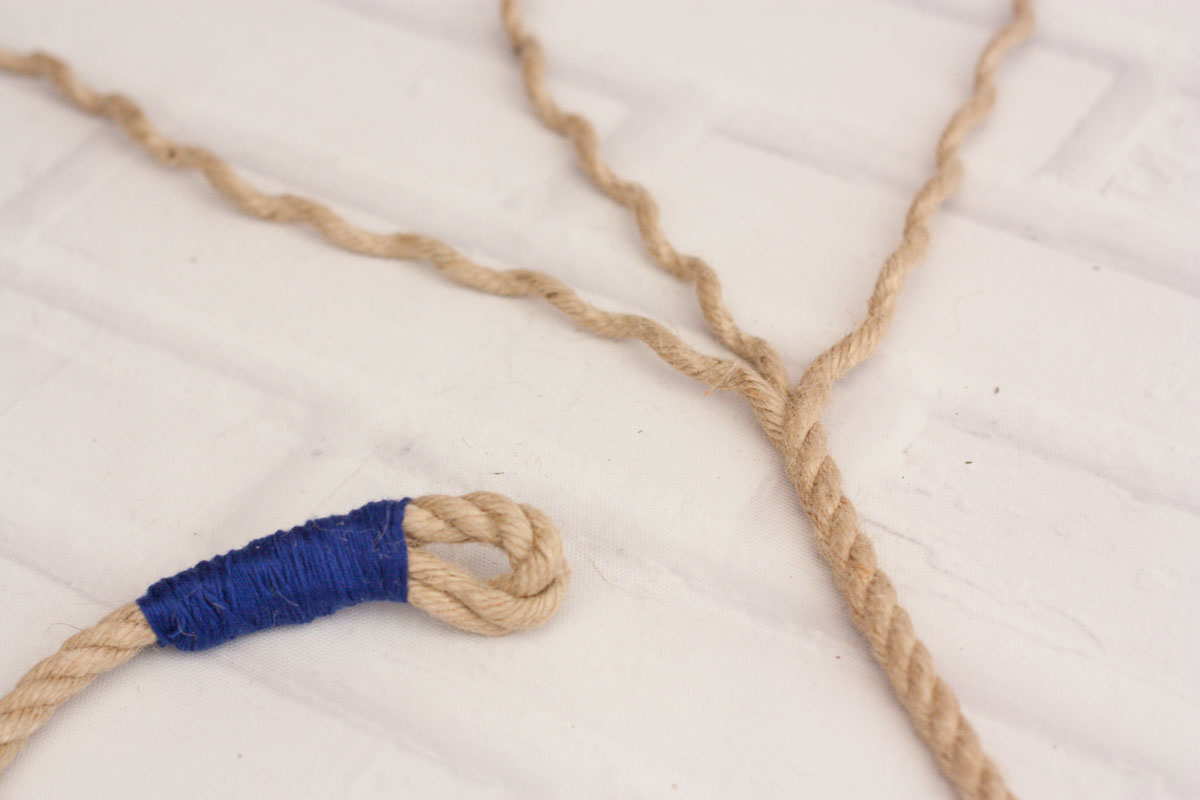
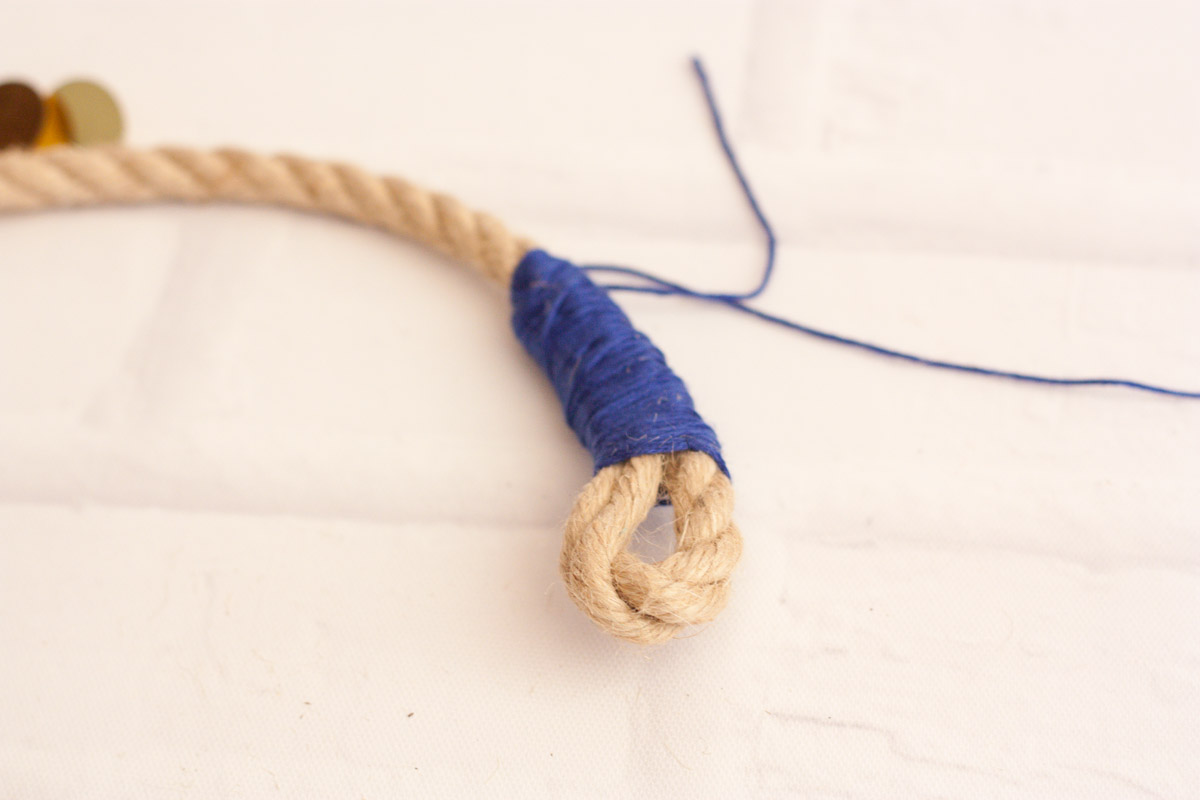
6. Let’s make an easy noose for the closing parts. On one end, bend it like shown below, helping yourself with pliers. Twist thread around it just as we did in the previous steps, pinching together the thickness of two ropes.
7. On the other end, untwist the rope so that it becomes 3 smaller ropes. Cut and knot two of them together like shown below and cover the popping out edges with the same twisted thread technique. The longer one goes thru the noose and closes the necklace behind your neck.
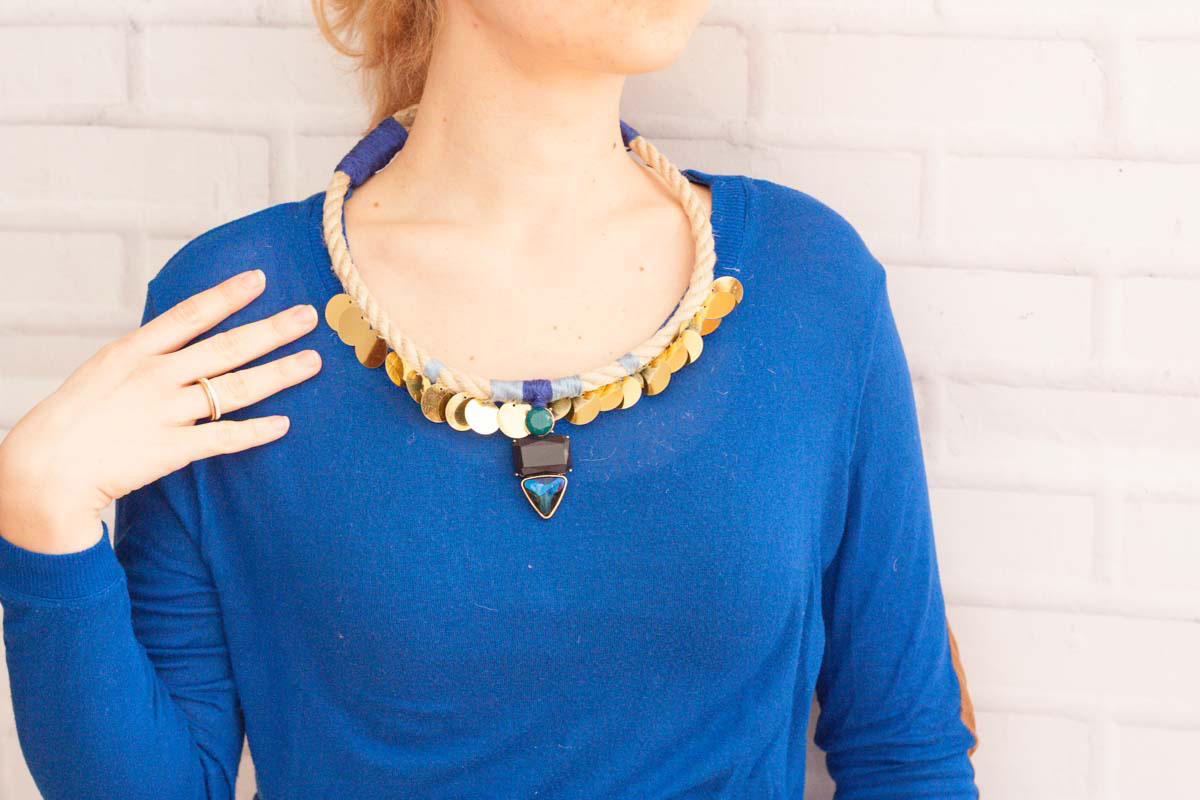
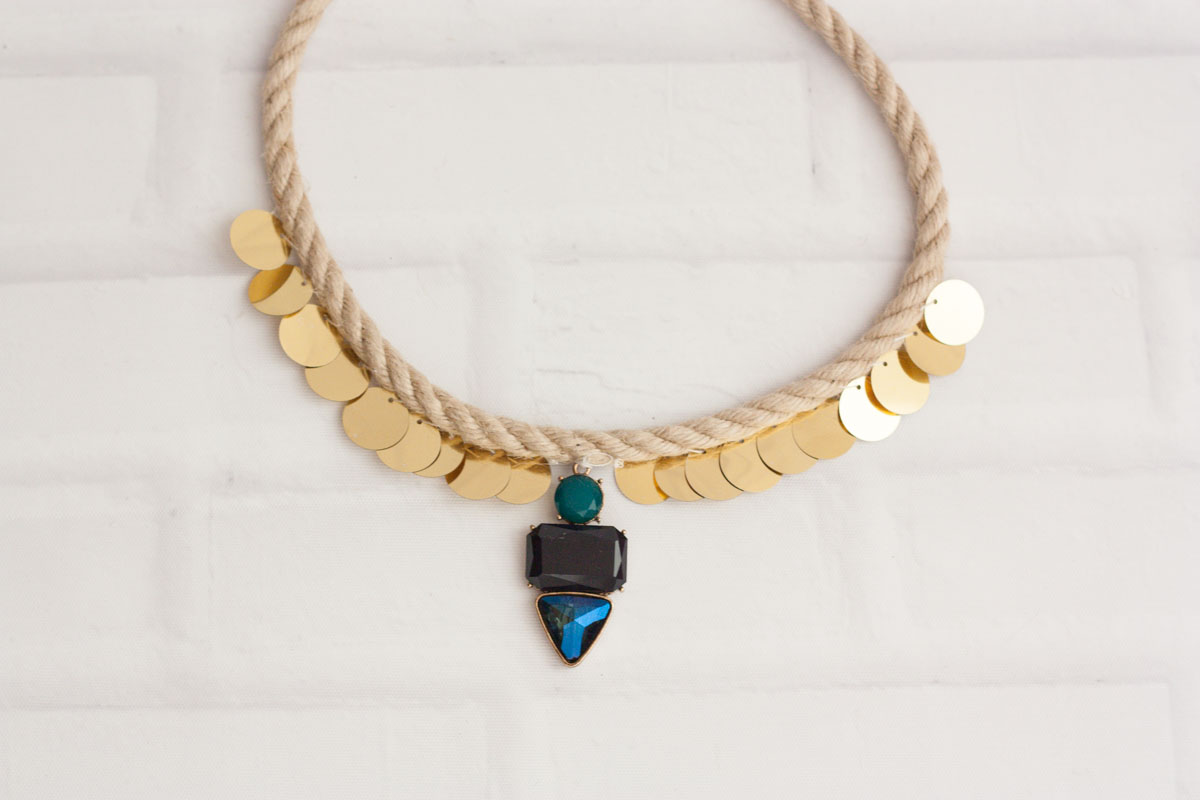
You can of course thread more parts and use more colors, you got the technique now. Well done! Here’s a statement necklace! I’m going to pair it with this bold blue shirt and I’m ready to go!
